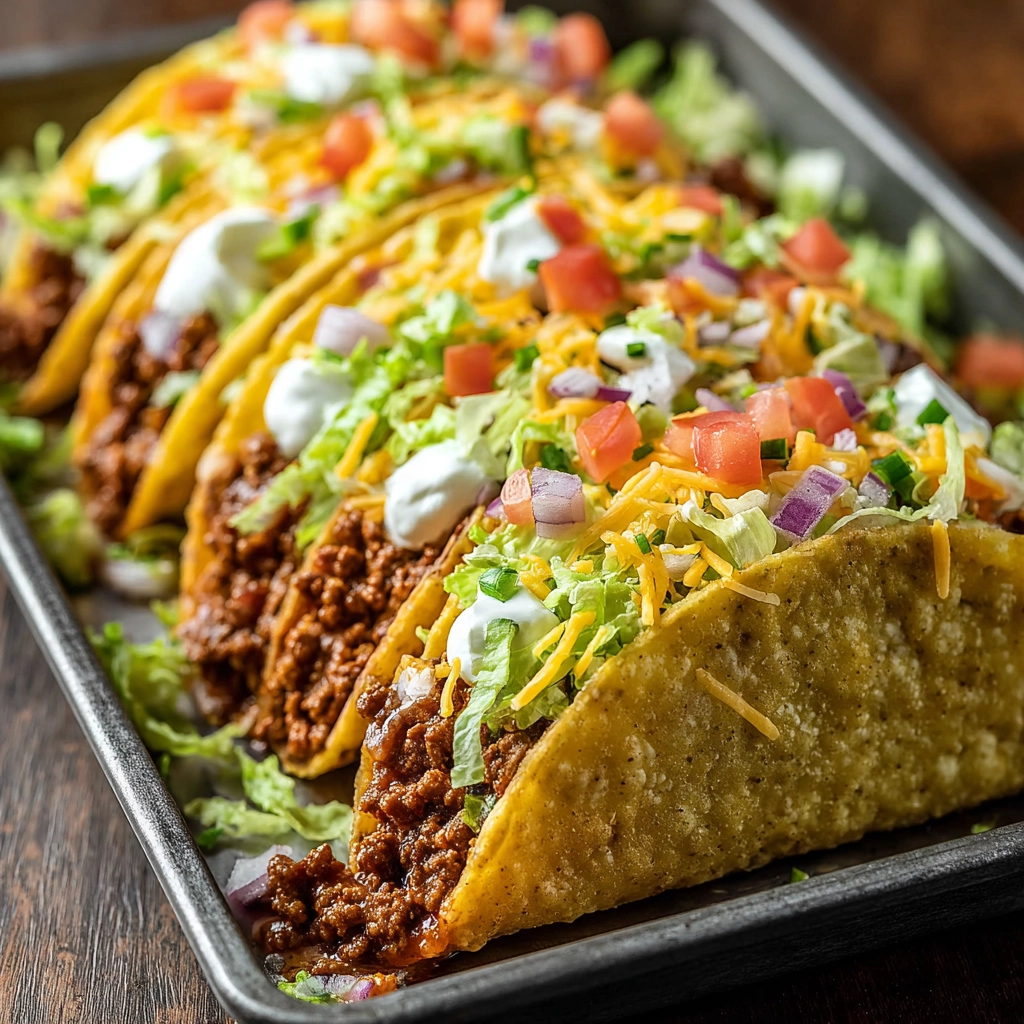
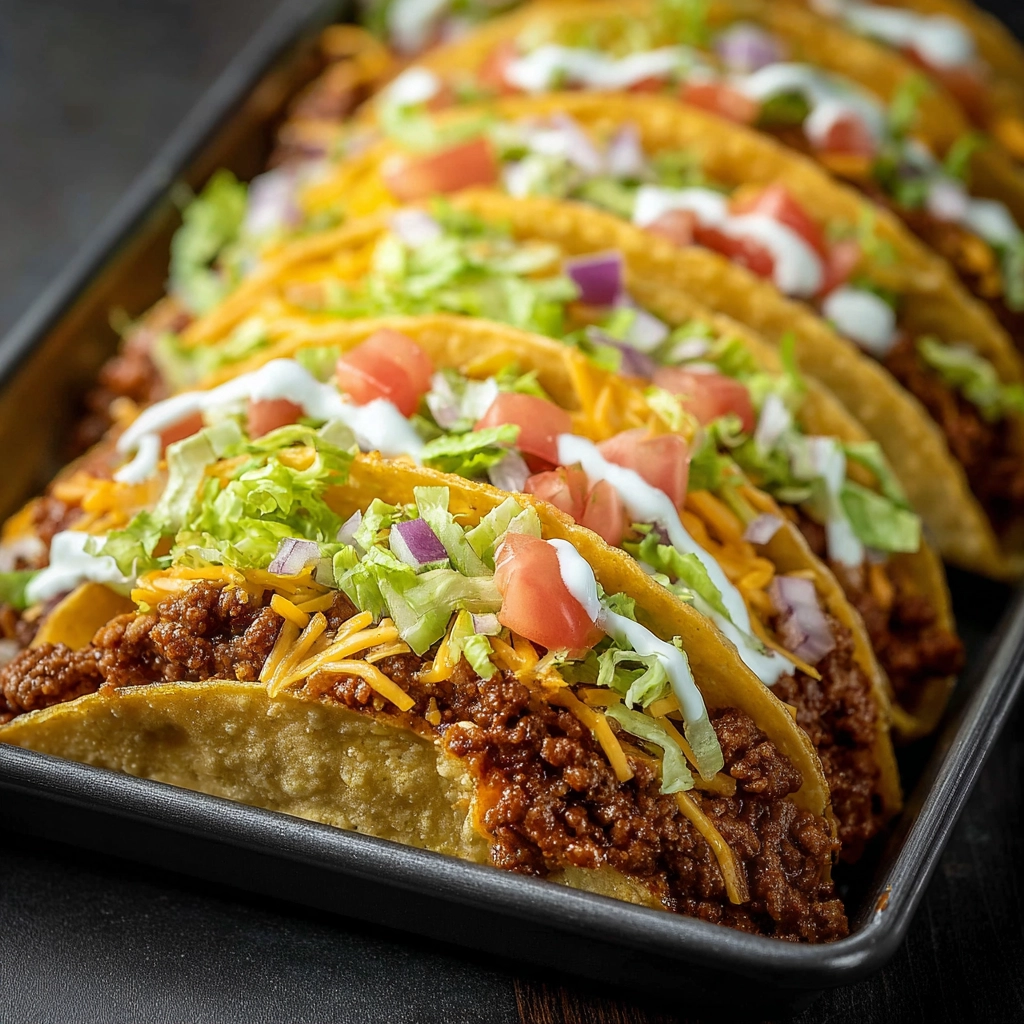
If you’re looking for a new twist on Taco Night, Oven-Baked Cheesy Tacos are about to steal the show. Imagine your favorite taco fillings—seasoned meat, gooey melted cheese, and crispy taco shells—all baked together in the oven to create a crunchy, cheesy masterpiece. These tacos are not only simple to make, but they also bring an extra layer of flavor and texture that’ll have your family asking for seconds. Whether you’re hosting a weeknight dinner or a casual get-together, this recipe is sure to impress.
Let’s dive into everything you need to know to make the perfect oven-baked cheesy tacos.
What Are Oven-Baked Cheesy Tacos?
Oven-Baked Cheesy Tacos take the classic taco to the next level. Instead of assembling your tacos on the stovetop, you bake them in the oven. This method allows the cheese to melt beautifully, infusing each taco with a rich, savory flavor. The taco shells get wonderfully crisp, while the cheese forms a golden, bubbling layer on top. It’s the perfect balance between crispy and cheesy—every bite is a satisfying crunch with a creamy filling.
The best part? You can prepare multiple tacos at once, making this an ideal recipe for a crowd. Plus, it’s far less messy than traditional taco assembly.
Print
Oven-Baked Cheesy Tacos
- Total Time: 30 minutes
- Yield: 12 tacos 1x
Description
Oven-Baked Cheesy Tacos take your favorite taco fillings—seasoned meat, gooey melted cheese, and crispy taco shells—and bake them into a golden, crunchy masterpiece. This easy and delicious recipe is perfect for taco night, with minimal mess and maximum flavor.
Ingredients
- 12 hard taco shells
- 1 lb ground beef
- 1 packet taco seasoning
- 1 can refried beans (optional)
- 2 cups shredded cheese (Mexican blend, cheddar, Monterey Jack)
- 1 small onion, finely chopped
- 1 clove garlic, minced
- Olive oil or cooking spray
Instructions
- Preheat oven to 400°F (200°C).
- In a skillet, cook ground beef over medium heat until browned. Add onion and garlic, cooking for 2 more minutes.
- Stir in taco seasoning and a splash of water, simmer for 5 minutes. Add refried beans if desired.
- Grease a baking sheet, arrange taco shells upright. Fill each shell with the beef mixture.
- Top each taco with shredded cheese.
- Bake in the oven for 10-15 minutes, until cheese is melted and taco shells are crispy.
- Serve with desired toppings such as lettuce, tomato, sour cream, salsa, and guacamole.
Notes
- Store leftover tacos in an airtight container for up to 3–4 days. For best results, reheat in the oven to preserve the crispiness of the taco shells.
- You can also freeze the assembled tacos (before baking) for up to 3 months. Bake directly from frozen at 375°F for 15-20 minutes.
- Prep Time: 15 minutes
- Cook Time: 15 minutes
- Category: Main Dish
- Method: Baking
- Cuisine: Mexican
Ingredients & Equipment You’ll Need
Before you get started, make sure you have all the necessary ingredients and equipment on hand:
Ingredients:
-
12 hard taco shells (corn or flour, depending on preference)
-
1 lb ground beef (or chicken, turkey, or plant-based protein)
-
1 packet taco seasoning (or homemade seasoning mix)
-
1 can refried beans (optional for extra flavor and texture)
-
2 cups shredded cheese (Mexican blend, cheddar, or Monterey Jack)
-
1 small onion, finely chopped
-
1 clove garlic, minced
-
Olive oil or cooking spray (for greasing the baking sheet)
Equipment:
-
Baking sheet (or casserole dish)
-
Parchment paper or foil (to prevent sticking)
-
Large skillet (for cooking the meat)
-
Shredding tool (for cheese)
With your ingredients prepped and your equipment ready, you’re all set for the next step!
Step-by-Step Preparation & Baking Instructions
Making oven-baked cheesy tacos is easier than it sounds. Here’s how to bring this delicious dish to life:
Step 1: Prepare the Taco Filling
Start by heating a large skillet over medium heat. Add the ground beef (or your protein of choice) and cook until browned, breaking it up into crumbles as it cooks. Once browned, add the chopped onion and minced garlic. Sauté for another 2 minutes until fragrant.
Next, stir in the taco seasoning and a splash of water (or according to the seasoning packet instructions). Allow the mixture to simmer for 5 minutes so the flavors meld together. If you’re using refried beans, add them in now to create a creamy layer inside the taco.
Step 2: Assemble the Tacos
Preheat your oven to 400°F (200°C). While it heats up, lightly grease your baking sheet or casserole dish with a bit of cooking spray or olive oil. Stand the taco shells upright on the sheet to maximize space.
Spoon a generous portion of the taco filling into each shell, ensuring that each one is filled with the seasoned beef mixture. Then, top each taco with a generous handful of shredded cheese. Be sure to layer the cheese evenly to get that perfect melt.
Step 3: Bake the Tacos
Place the baking sheet in the oven and bake for 10–15 minutes, or until the cheese is bubbling and the taco shells are crispy and golden brown. Keep an eye on them during the final few minutes to avoid overbaking.
Step 4: Serve & Enjoy
Once the tacos are out of the oven, let them cool for a minute or two before serving. You can garnish them with fresh toppings like lettuce, diced tomatoes, sour cream, salsa, and guacamole.
There you have it! Perfectly oven-baked cheesy tacos with minimal effort.
Variations & Customizations
One of the best things about oven-baked cheesy tacos is how easy it is to customize them based on your preferences or dietary needs. Here are a few ideas to make these tacos your own:
Protein Variations
-
Chicken: Swap the ground beef for shredded chicken for a lighter option. You can use rotisserie chicken to save time.
-
Turkey: Ground turkey is a leaner alternative to beef and pairs perfectly with taco seasoning.
-
Vegetarian: Use black beans or plant-based crumbles to create a meatless taco option.
Toppings & Add-ins
-
Fresh Veggies: Try adding diced bell peppers, corn, or jalapeños for an extra burst of flavor.
-
Spicy Kick: Spice things up by adding a drizzle of hot sauce or a few slices of fresh chili peppers.
Dietary Variations
Vegan
To make these tacos vegan-friendly, swap the ground beef with a plant-based protein like lentils, tofu, or vegan crumbles. Use dairy-free cheese or skip the cheese altogether and opt for guacamole and salsa for added flavor.
Gluten-Free
For a gluten-free version, simply use corn taco shells and check that your taco seasoning is gluten-free. You can also use gluten-free cheese or skip it entirely for a dairy-free option.
Low-Calorie
To cut down on calories, try using lean ground turkey or chicken. Reduce the amount of cheese, or opt for a lighter, reduced-fat variety. You can also swap the hard taco shells for lettuce wraps for a low-carb alternative.
Halal
To make these tacos halal, use halal-certified ground beef, chicken, or a plant-based substitute. Ensure that the taco seasoning is halal-certified as well, and use halal-friendly toppings like hummus or tahini.

Serving Suggestions & Side Dishes
Oven-baked cheesy tacos pair wonderfully with a variety of sides:
-
Mexican Rice: A simple side dish that complements the flavors of the tacos.
-
Refried Beans: A classic accompaniment that adds a creamy texture.
-
Chips & Salsa: Perfect for dipping and adds a nice crunch to your meal.
-
Guacamole: Add a fresh and creamy touch to balance the tacos’ heat.
Beverage-wise, try serving these tacos with a refreshing iced tea or a limeade for the perfect taco night experience.
Storage, Make-Ahead & Reheating Tips
If you’re lucky enough to have leftovers, storing your oven-baked cheesy tacos is a breeze. Simply wrap them tightly in foil or place them in an airtight container and refrigerate for up to 3–4 days.
To reheat, place the tacos back in the oven at 350°F for about 5–10 minutes to keep the shells crispy and the cheese melted. Avoid using the microwave, as it can make the shells soggy.
If you want to make the taco filling ahead of time, cook and store it separately. When you’re ready to assemble, just fill the shells, top with cheese, and bake.
These oven-baked cheesy tacos are not just a meal—they’re a crowd-pleaser. Whether you’re preparing for a family dinner or a casual party, this recipe is quick, customizable, and sure to impress. The best part is that you can adjust it to suit any dietary needs, making it a versatile dish for everyone to enjoy. Try it tonight and discover why oven-baked tacos are your new go-to!
FAQ
How long do you bake cheesy tacos in the oven?
For perfect oven-baked cheesy tacos, bake them at 400°F (200°C) for about 10–15 minutes, or until the cheese is melted and the taco shells are golden and crispy. Keep an eye on them toward the end to avoid overbaking.
Can I use soft tortillas for baked tacos?
While soft tortillas can be used for baked tacos, they won’t give you the same crispy texture as hard taco shells. If you prefer softer tacos, go ahead, but keep in mind the shells may not be as crunchy.
Can I make these tacos ahead of time?
Yes, you can prepare the filling ahead of time and store it in the fridge. Just assemble the tacos when you’re ready to bake. For optimal texture, bake the tacos fresh for that crispy shell and melted cheese.
Can I freeze these baked tacos?
Absolutely! You can freeze the assembled oven-baked cheesy tacos (before baking) for up to 3 months. Just wrap them tightly in plastic wrap or foil, and when you’re ready, bake directly from frozen at 375°F for 15–20 minutes.
Discover more delicious recipes by following me on Facebook and Pinterest.
