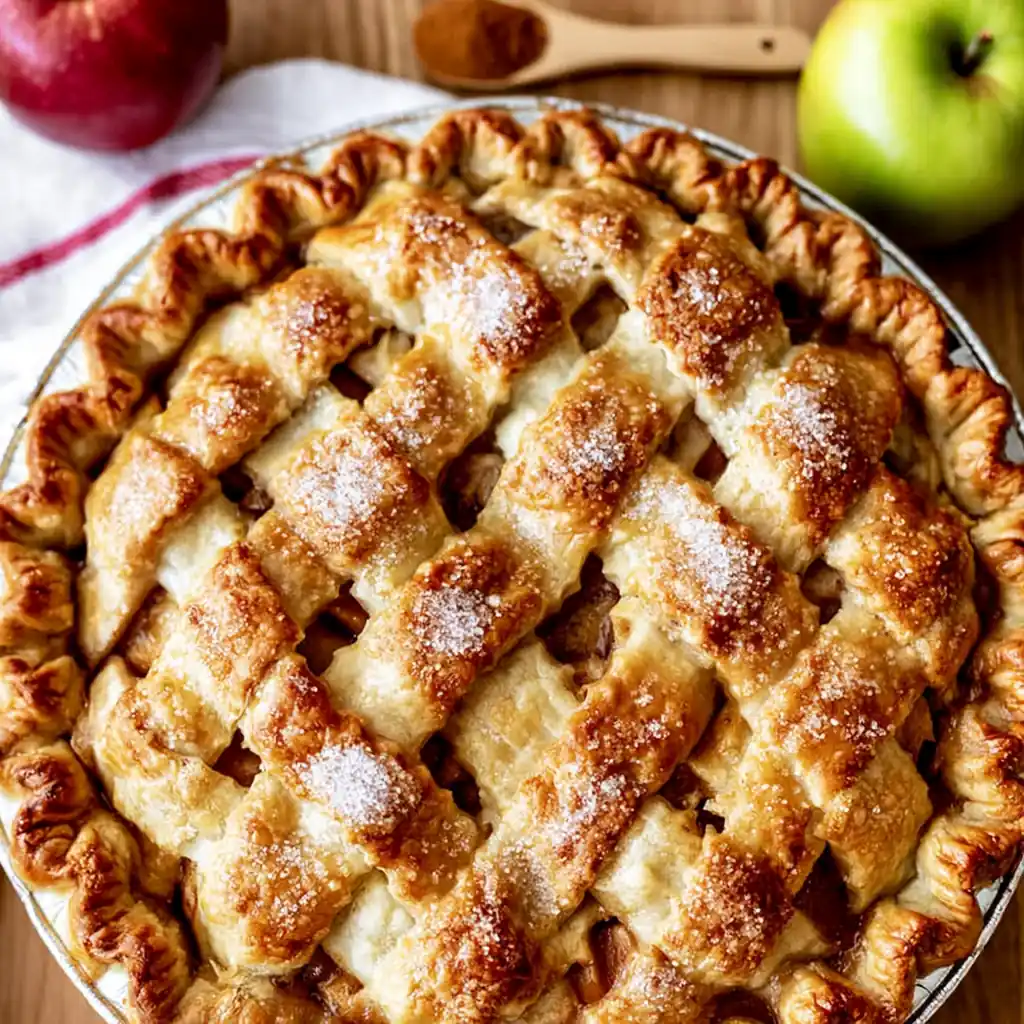
There’s nothing quite like Homemade Apple Pie fresh from the oven. With its buttery double crust, tender apple filling, and warm spices, this timeless dessert has earned its place on every family table. Whether you’re preparing it for the holidays, a weekend gathering, or simply craving a comforting classic apple pie, this recipe delivers rich flavor, perfect texture, and reliable results every single time. Thanks to a cooked filling, you’ll never end up with watery slices or mushy apples again.
Story
For years, I believed apple pie simply wasn’t my favorite dessert. Every version I tried tasted bland, and the filling usually turned into a soft, watery mess. Everything changed after discovering the simple trick of cooking the filling before baking. That one step completely transformed this Homemade Apple Pie into the dessert I now bake every fall and holiday season. The apples stay tender while keeping their shape, the caramelized juices become thick and flavorful, and the flaky crust wraps everything together beautifully. Whether you’re making your first easy pie recipe or baking for a special celebration, this recipe brings bakery-quality results right from your own kitchen.
Ingredients
- 1 homemade double pie crust (2 sheets)
- 1/4 teaspoon lemon zest
- Juice of 1/2 lemon (about 2 tablespoons)
- 5 pounds apples (about 11 large apples), peeled and sliced
- 3/4 cup packed brown sugar
- 3/4 cup granulated sugar
- 5 tablespoons all-purpose flour
- 1/4 teaspoon kosher salt
- 1 1/2 teaspoons ground cinnamon
- 3/4 teaspoon ground nutmeg
- 1/2 teaspoon ground cardamom (optional)
- 1 teaspoon vanilla extract
- 1 tablespoon milk
- 1 tablespoon beaten egg (optional)
- 1 tablespoon raw sugar
Step-by-Step Instructions
Preparing the Ingredients
Start by choosing a blend of apples for the richest flavor. Granny Smith provides tartness, while Gala and Golden Delicious contribute sweetness and texture. Peel, core, and slice the apples into thin 1/8-inch slices. Toss each batch immediately with lemon juice and zest to prevent browning. Place all the sliced apples into a large skillet before adding the brown sugar, granulated sugar, flour, salt, cinnamon, nutmeg, and optional cardamom. Stir gently until evenly coated.
Cooking Instructions
Cook the apple mixture over medium heat for about 20 minutes, stirring every few minutes until the apples become fork-tender but still hold their shape. Stir in the vanilla extract and spread the filling onto a baking sheet to cool completely. Line a deep 9-inch pie dish with one crust and fill it with the cooled apple mixture, making sure to include every bit of the caramelized juices. Cover with the second crust or create a lattice top, then crimp the edges and cut vents if using a full crust. Chill the assembled pie for 20 to 30 minutes. Brush with milk, egg, or both, then sprinkle with raw sugar. Bake at 425°F for 15 minutes before reducing the temperature to 350°F. Cover the edges with foil and continue baking for another 40 to 45 minutes until the crust turns golden brown and the filling bubbles. Allow the pie to cool for 4 hours before slicing.
Tips for Perfect Results
Common Mistakes to Avoid
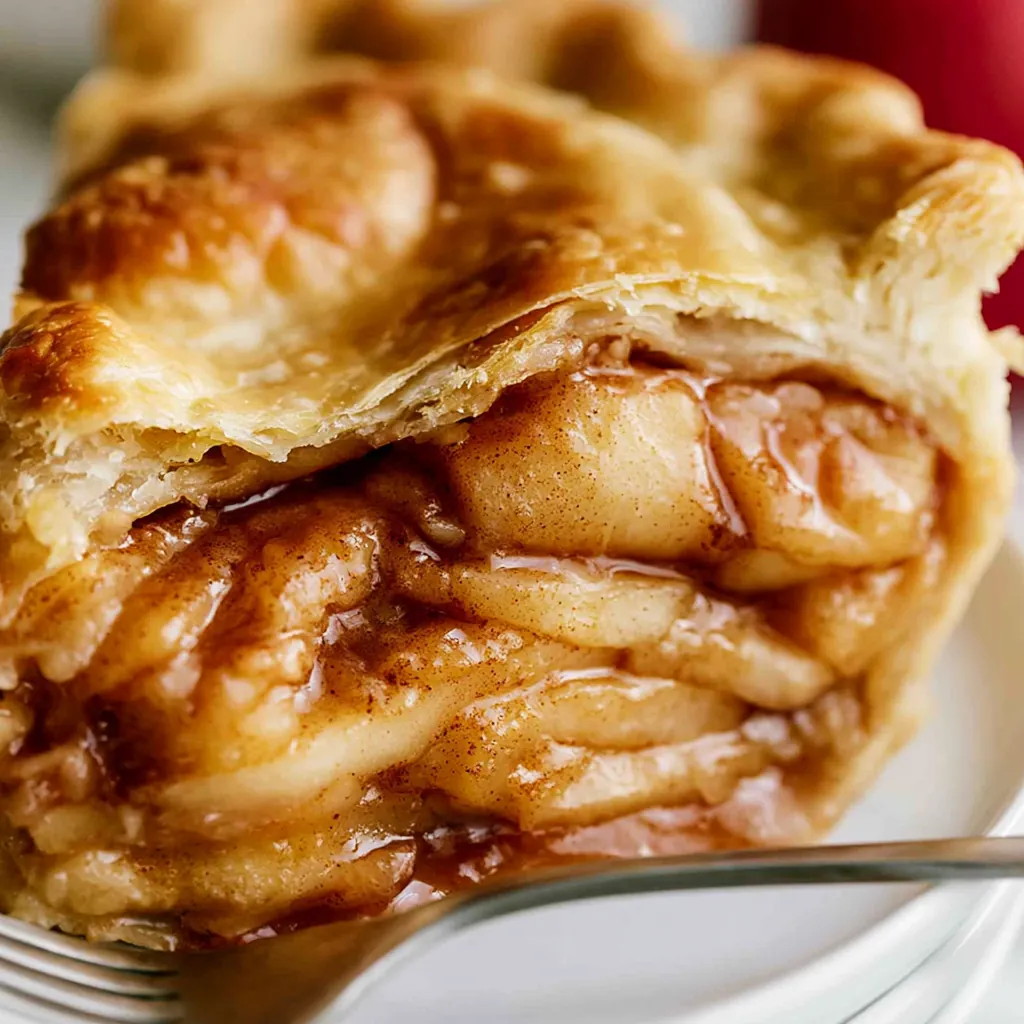
Avoid skipping the step of cooking the filling because raw apples often shrink during baking, leaving gaps beneath the crust. Slice the apples evenly so they cook at the same rate. Don’t overload the pie with liquid, and resist slicing before the pie has cooled completely. Allowing the filling to set creates neat slices instead of runny servings.
Pro Tips for Better Flavor
Mix different apple varieties to create balanced sweetness and acidity. Chill the assembled pie before baking to keep the crust flaky. Brush with both milk and egg for a crust that’s beautifully browned with a slight shine. For an even richer homemade fruit dessert, serve each slice with vanilla ice cream and warm caramel sauce.
Serving and Storage
How to Serve
Serve this pie at room temperature or slightly warm with a scoop of vanilla ice cream, freshly whipped cream, or caramel sauce. It also pairs beautifully with hot coffee, apple cider, or tea during fall baking season. This pie works equally well for Thanksgiving, Christmas, family dinners, or weekend desserts.
How to Store Leftovers
Cover the pie loosely with plastic wrap and keep it at room temperature for up to two days. After that, refrigerate it for up to five days. Reheat individual slices in a 300°F oven for about 10 minutes to restore the crisp crust. The fully baked pie also freezes well for up to three months when wrapped tightly.
Conclusion
This Homemade Apple Pie combines a flaky buttery crust with perfectly cooked apples and warm spices for a dessert that’s both comforting and impressive. The cooked filling guarantees every slice holds together beautifully while delivering incredible flavor. Whether you’re baking for the holidays or simply treating yourself, this recipe is one you’ll return to year after year.
Discover more delicious recipes by following me on Facebook and Pinterest.
Frequently Asked Questions
What are the best apples for Homemade Apple Pie?
A combination of Granny Smith, Gala, and Golden Delicious creates the perfect balance of tartness, sweetness, and texture. Mixing apple varieties adds more depth of flavor than using only one type.
Can I make Homemade Apple Pie ahead of time?
Yes. You can prepare the filling one day ahead and refrigerate it until you’re ready to assemble the pie. The fully baked pie also stays fresh for several days and freezes exceptionally well.
Why should I let apple pie cool before slicing?
Cooling allows the filling to thicken and set properly. Cutting the pie while it’s still hot causes the juices to run, making the slices messy and preventing the filling from holding its shape.
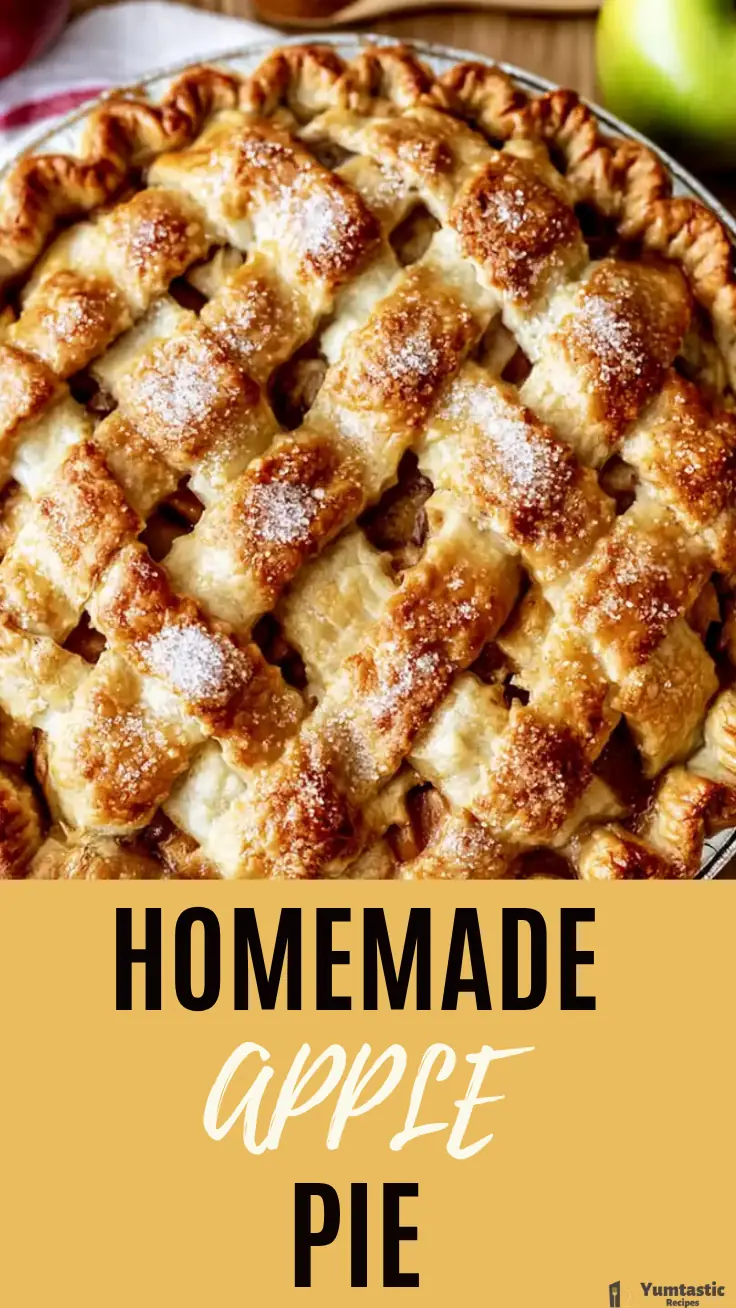
Homemade Apple Pie
- Total Time: 5 hours 40 minutes
- Yield: 10 servings 1x
- Diet: Vegetarian
Description
This homemade apple pie features a flaky double crust filled with tender, warmly spiced apples and thick caramelized juices. Cooking the filling before baking creates clean slices, balanced flavor, and a reliable texture every time.
Ingredients
- 1 homemade double pie crust, 2 sheets of pie dough
- 1/4 teaspoon lemon zest
- 2 tablespoons fresh lemon juice
- 5 pounds apples, about 11 large apples, peeled, cored, and thinly sliced
- 3/4 cup packed brown sugar
- 3/4 cup granulated sugar
- 5 tablespoons all-purpose flour
- 1/4 teaspoon kosher salt
- 1 1/2 teaspoons ground cinnamon
- 3/4 teaspoon ground nutmeg
- 1/2 teaspoon ground cardamom, optional
- 1 teaspoon vanilla extract
- 1 tablespoon milk, for brushing
- 1 tablespoon beaten egg, optional, for brushing
- 1 tablespoon raw sugar, for topping
Instructions
- Zest 1/4 teaspoon lemon peel into a large, high-sided skillet, then add 2 tablespoons lemon juice.
- Peel, core, and slice the apples into 1/8-inch slices. Add each sliced apple to the skillet and toss with the lemon juice to prevent browning.
- Add the brown sugar, granulated sugar, flour, salt, cinnamon, nutmeg, and cardamom. Stir gently until the apples are evenly coated.
- Set the skillet over medium heat. Cover and cook for 20 minutes, stirring about every 3 minutes and replacing the lid each time. Cook until the apples are fork-tender but still hold their shape.
- Add 1 tablespoon water only if the apples begin sticking to the skillet.
- Remove the skillet from the heat and stir in the vanilla extract.
- Spread the filling, including all the thick juices, onto a rimmed baking sheet. Chill for about 30 minutes, or until completely cool.
- Roll out one sheet of pie dough and fit it into a deep 9-inch pie dish, leaving the excess dough over the edges.
- Transfer the cooled apple filling into the crust and scrape in all the caramelized juices.
- Place the second crust over the filling or form a lattice top. Fold and crimp the edges. Cut several vents in a solid top crust.
- Chill the assembled pie for 20 to 30 minutes.
- Place a baking sheet on the center oven rack. Preheat the oven to 425°F for at least 20 minutes.
- Brush the chilled crust with milk, beaten egg, or a mixture of both. Sprinkle the top with raw sugar.
- Place the pie on the hot baking sheet and bake at 425°F for 15 minutes.
- Reduce the oven temperature to 350°F. Shield the outer crust with foil to prevent excessive browning.
- Return the pie to the oven and bake for 40 to 45 minutes, until the edges are deep golden brown, the center is lightly golden, and the filling bubbles.
- Transfer the pie to a wire rack and cool for 4 hours so the filling can set.
- Slice and serve at room temperature or slightly warm.
Notes
- Use a combination of tart and sweet apples, such as Granny Smith, Gala, and Golden Delicious, for balanced flavor and texture.
- Keep the apple slices close to 1/8 inch thick so they cook evenly.
- The filling must cool completely before it goes into the pie crust.
- Chilling the assembled pie helps the crust bake up flaky.
- Do not slice the pie while hot because the filling needs time to thicken and set.
- Serve with vanilla ice cream or warm caramel sauce.
- Store the covered pie at room temperature for up to 2 days, then refrigerate for up to 5 days.
- Nutrition values are estimated per serving.
- Prep Time: 20 minutes
- Cook Time: 1 hour 20 minutes
- Category: Dessert
- Method: Baking
- Cuisine: American
Nutrition
- Serving Size: 1 slice
- Calories: 585
- Sugar: 55
- Sodium: 320
- Fat: 23
- Saturated Fat: 9
- Unsaturated Fat: 12
- Trans Fat: 0
- Carbohydrates: 94
- Fiber: 6
- Protein: 6
- Cholesterol: 20