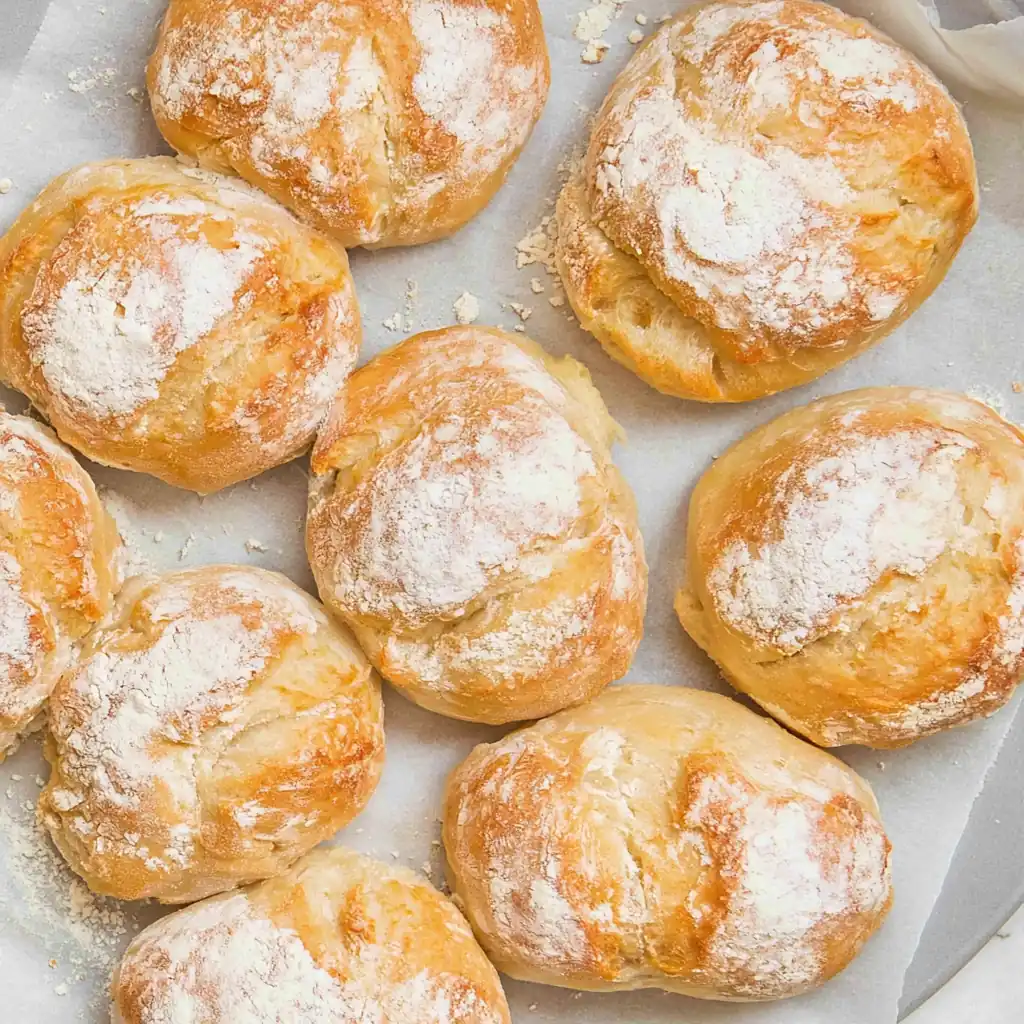
Fresh homemade bread feels especially rewarding when the recipe requires little work. This Panini Bread Guide shows you how to make rustic Italian-style rolls with a crisp golden crust and a light, chewy center. Better yet, you need only six basic ingredients, and you never have to knead the dough. A short warm rise helps the yeast work quickly, while a hot oven creates the crust that makes these rolls so satisfying. Slice them horizontally for sandwiches, toast them on a grill, or serve them warm beside soup and salad. From mixing to baking, the process takes about one hour.
Story
I love bread recipes that deliver bakery-style results without turning the kitchen into an all-day project. That is exactly why this Panini Bread Guide belongs in any home baker’s collection. Traditional Italian panini begin with simple bread, and this quick method keeps that straightforward spirit. In Italian, panino refers to one small bread roll, while panini refers to more than one. People also commonly use the term for sandwiches made by cutting these rolls horizontally and adding meat, cheese, vegetables, or other fillings. This Panini Bread Guide uses a wet, airy dough because extra moisture helps create a pleasantly open crumb. Instead of kneading, you stir the ingredients together and give the yeast a warm place to work. Then you divide the risen dough into ten portions and gently shape them without pressing out the trapped air. Finally, a hot oven turns those soft pieces into golden rolls with crisp edges. Once you learn the method in this Panini Bread Guide, homemade sandwich bread becomes surprisingly practical, even on a busy day.
Ingredients
You only need basic pantry staples for these panini rolls, although accurate measurements matter because flour absorbs water differently depending on the brand, protein level, and kitchen conditions.
- 1 3/4 cups (420 ml) lukewarm water, plus a little more if needed
- 2 teaspoons active dry yeast or instant yeast
- 1/2 teaspoon granulated sugar
- 4 cups (500 g) unbleached all-purpose flour, plus extra for dusting
- 1 1/2 teaspoons fine salt
- 1 tablespoon (15 ml) olive oil
Step-by-Step Instructions
The method stays simple from beginning to end: activate the yeast, stir together the wet dough, give it a quick warm rise, divide it carefully, and bake the rolls at high heat.
Preparing the Ingredients
Start with lukewarm water rather than hot water, since excessive heat can damage the yeast. Stir the water, active dry yeast, and sugar together in a small bowl or measuring jug, then leave the mixture for about five minutes until you see foam on the surface. Meanwhile, add the flour and salt to a large mixing bowl and stir them together. Preheat your oven to 250°F, then switch it off before you place the dough inside to rise. If you choose instant yeast instead, you can mix it directly into the flour and add the sugar with the dry ingredients. Keep extra flour nearby for shaping and a small amount of extra water available in case your flour absorbs more liquid.
Cooking Instructions
Pour the yeast mixture into the flour, add the olive oil, and stir firmly with a spoon or spatula until no pockets of dry flour remain. The dough should look wet, sticky, and loose rather than firm enough for hand kneading. Add a little extra water when necessary. Cover the bowl with plastic wrap or a damp kitchen towel, place it in the switched-off warm oven, and let the dough rise for 30 to 40 minutes. Remove the bowl and heat the oven to 440°F. Line a large baking sheet with parchment paper. Next, gently scrape the risen dough onto a well-floured surface without punching it down. Dust the top lightly with flour, then use a bench scraper or large knife to divide it into 10 roughly equal portions. Gently stretch or roll each portion into an oblong roll and transfer it to the prepared pan. Bake for 20 to 25 minutes, until the panini rolls develop a golden, crisp exterior.
Tips for Perfect Results
Successful panini bread depends more on dough consistency and gentle handling than complicated bread-making skills, so pay attention to moisture, temperature, and the air inside the risen dough.
Common Mistakes to Avoid
Do not keep adding flour simply because the dough feels sticky. A moist dough helps produce the airy texture that works so well for panini. Instead, flour your work surface and hands lightly when you shape the rolls. Also, avoid using very hot water for the yeast or placing the dough in an oven that remains switched on during proofing. You want gentle warmth, not baking heat. After the dough rises, resist the urge to knead or punch it down. Rough handling pushes out the bubbles that contribute to the light interior. Finally, give the rolls enough oven time to develop color. Removing pale rolls too early can leave the crust soft and the center overly moist.
Pro Tips for Better Flavor
For a slightly crisper crust and chewier crumb, substitute bread flour for all-purpose flour. You can also replace part of the all-purpose flour with whole-wheat flour, but keep whole wheat at half the total flour or less if you want to retain a lighter texture. Because flour varies, judge the dough by its consistency rather than forcing it to accept one exact amount of additional water. It should stay sticky and soft while still holding together. A kitchen scale gives you the most consistent flour measurement. Most importantly, bake the rolls until they turn genuinely golden. That deeper color gives the crust more character and creates a pleasant contrast with the tender crumb.
Serving and Storage
These rolls taste especially good fresh from the oven, but they also work well for sandwiches, meal prep, and freezer storage when you handle them correctly.
How to Serve
Let the bread cool enough to handle, then cut each roll horizontally. For an Italian-inspired sandwich, add mozzarella, tomatoes, fresh greens, grilled vegetables, ham, salami, mortadella, or another favorite filling. A little extra-virgin olive oil, pesto, mustard, or mayonnaise can add moisture and flavor. You can eat the sandwich at room temperature or press it on a panini grill until the exterior turns crisp and the cheese melts. The bread also works without fillings. Serve a warm roll alongside tomato soup, vegetable soup, salad, cheese, or a charcuterie plate. Its crusty exterior makes it particularly good for dipping into flavorful soups and olive oil.
How to Store Leftovers
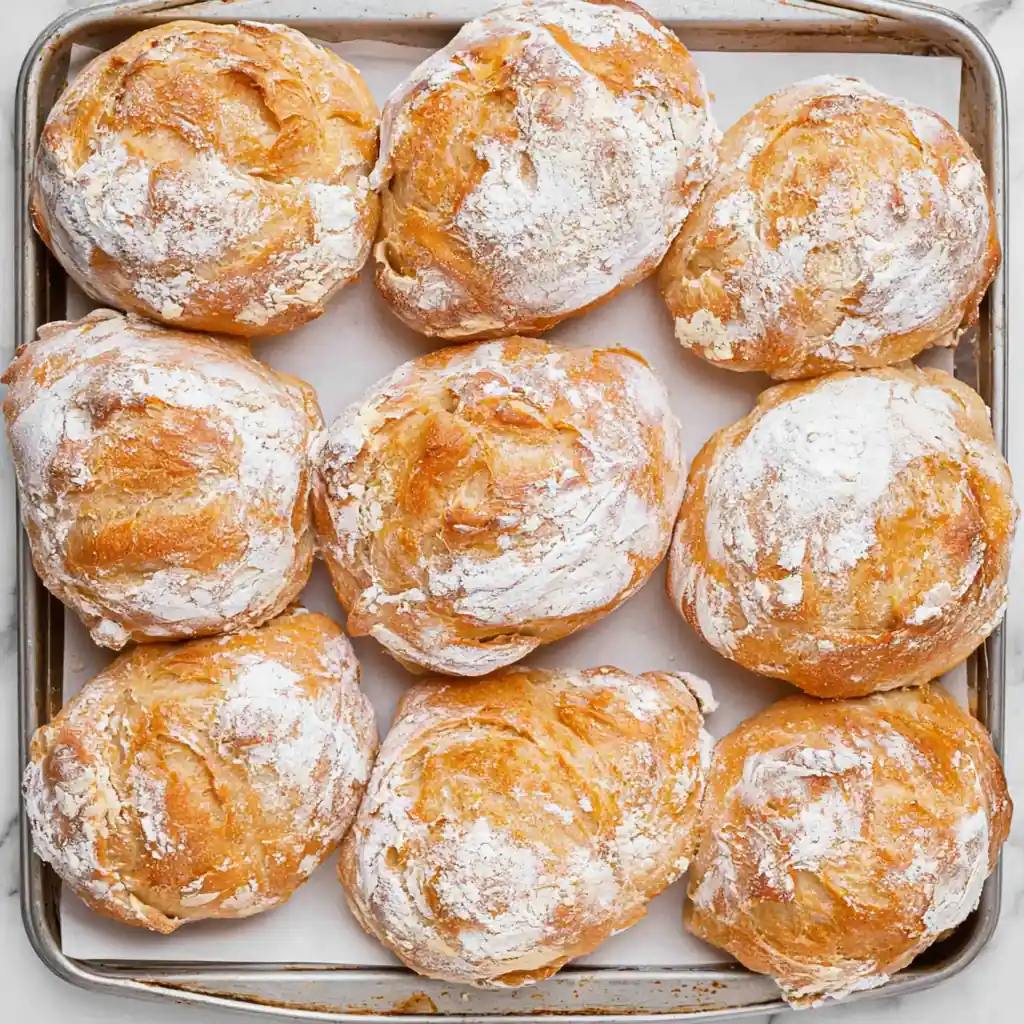
Keep cooled panini rolls in a closed paper bag at room temperature for about one to two days. Because homemade bread contains no commercial preservatives, the crust gradually softens and the crumb becomes firmer during storage. Toasting or grilling the bread can bring back some of its crisp texture. For longer storage, freeze the rolls while they still taste fresh. Place completely cooled bread in a sealed freezer-safe bag, remove as much excess air as practical, and freeze. When you need a roll, thaw it at room temperature, then warm it briefly in the oven or toast it before serving. You can also slice the rolls before freezing when you plan to use them primarily for sandwiches.
Conclusion
This Panini Bread Guide proves that homemade Italian-style bread does not require complicated kneading, specialty equipment, or hours of hands-on work. With flour, water, yeast, sugar, salt, and olive oil, you can bake 10 golden rolls with crisp crusts and airy centers in about an hour. The warm-oven rising method keeps the process moving quickly, while gentle shaping preserves the bubbles in the dough. Once the rolls come out of the oven, fill them with your favorite sandwich ingredients or simply serve them warm at the table. Try a batch the next time you want fresh bread without committing your entire afternoon to baking.
Discover more delicious recipes by following me on Facebook and Pinterest.
Frequently Asked Questions
What Is the Best Flour for Panini Bread?
All-purpose flour works very well because it produces a tender crumb while still giving the rolls a pleasant crust. Bread flour also works and usually creates a slightly chewier interior and crisper exterior because it contains more protein. You can combine all-purpose flour with whole-wheat flour when you want a heartier result. However, use no more than about half whole-wheat flour if you want to keep the bread relatively light. Whichever flour you choose, measure carefully. A digital kitchen scale gives the most consistent result because scooping flour directly with a measuring cup can pack too much flour into the dough.
Why Is My Panini Dough So Sticky?
Sticky dough is normal for this recipe, so do not treat it like a traditional firm bread dough. The higher moisture level contributes to the light crumb and irregular air pockets inside the baked rolls. Different flour brands also absorb different quantities of water, which means your dough can look slightly wetter or drier from one batch to another. If dry flour remains after thorough mixing, add water gradually until everything comes together. During shaping, dust the work surface, dough, and your hands with flour rather than mixing large amounts of extra flour into the dough. Handle each portion gently and quickly to keep the process manageable.
Can I Make Panini Bread Without a Panini Press?
Yes. A panini press cooks the finished sandwich, not the bread itself, so you do not need one to make these rolls. Bake the bread normally in the oven, allow it to cool slightly, and slice it horizontally. You can serve the filled rolls without grilling, toast them in a skillet, use a grill pan, or warm them in the oven. If you want the compressed texture associated with grilled panini, place the sandwich in a skillet and press it carefully with another heavy pan while it cooks. The sturdy crust and chewy interior hold fillings well whether you serve the sandwich warm or at room temperature.


Panini Bread Guide
- Total Time: 1 hour
- Yield: 10 rolls 1x
- Diet: Vegetarian
Description
Easy Italian no-knead panini bread with a golden, crusty exterior and soft interior. These homemade panini rolls come together with simple pantry ingredients and are ready in about one hour, making them perfect for sandwiches, soups, salads, cheese, and charcuterie.
Ingredients
- 1 3/4 cups (420 ml) lukewarm water, plus more if needed
- 2 teaspoons active dry yeast or instant yeast
- 1/2 teaspoon sugar
- 4 cups (500 grams) unbleached all-purpose flour, plus more for dusting
- 1 1/2 teaspoons fine salt
- 1 tablespoon (15 ml) olive oil
Instructions
- Mix the lukewarm water, yeast, and sugar in a jug or small bowl. Let the mixture rest for about 5 minutes, until foamy. If using instant yeast, add it directly to the flour instead.
- Combine the flour and salt in a large bowl.
- Preheat the oven to 250°F (120°C), then turn the oven off to create a warm environment for the dough.
- Pour the yeast mixture into the flour mixture, add the olive oil, and stir with a spoon or spatula until no dry flour remains. Add a little extra water if needed to fully incorporate the flour.
- Cover the bowl with a damp kitchen towel or plastic wrap. Place it in the warm oven and let the dough rise for 30 to 40 minutes.
- Remove the risen dough from the oven. Preheat the oven to 440°F (220°C) and line a large baking sheet with parchment paper.
- Gently loosen the dough from the bowl and turn it onto a generously floured work surface without pressing out the air.
- Dust the dough with flour and divide it into 10 roughly equal pieces using a dough scraper or large knife.
- Gently roll or shape each piece, using extra flour on your hands and work surface as needed. Arrange the rolls on the prepared baking sheet.
- Bake for about 20 to 25 minutes, until the panini rolls are golden and crusty. Serve warm or allow them to cool before filling.
Notes
- For the most accurate flour measurement, use a digital kitchen scale. If measuring with cups, spoon the flour into the measuring cup and level it with a knife instead of scooping directly from the bag.
- Different flours absorb different amounts of water. Start with the listed amount and add a little more water only if needed to bring all the flour into the dough.
- The warm-oven method speeds up the rising process. Heat the oven briefly to 250°F (120°C), switch it off, and then place the covered dough inside.
- Handle the risen dough gently so you do not deflate the air pockets that create the light interior.
- All-purpose flour produces a softer crumb, while bread flour can create a crispier crust. If using whole-wheat flour, replace no more than half of the all-purpose flour for the best texture.
- Store cooled panini bread in a closed paper bag at room temperature for 1 to 2 days. Toast or grill the rolls to restore crispness.
- For longer storage, freeze fresh rolls in a sealed freezer bag and thaw them at room temperature before serving.
- Prep Time: 40 minutes
- Cook Time: 20 minutes
- Category: Bread
- Method: Baking
- Cuisine: Italian
Nutrition
- Serving Size: 1 roll
- Calories: 196
- Sugar: 1
- Sodium: 1
- Fat: 2
- Saturated Fat: 1
- Unsaturated Fat: 1
- Trans Fat: 0
- Carbohydrates: 39
- Fiber: 1
- Protein: 5
- Cholesterol: 0