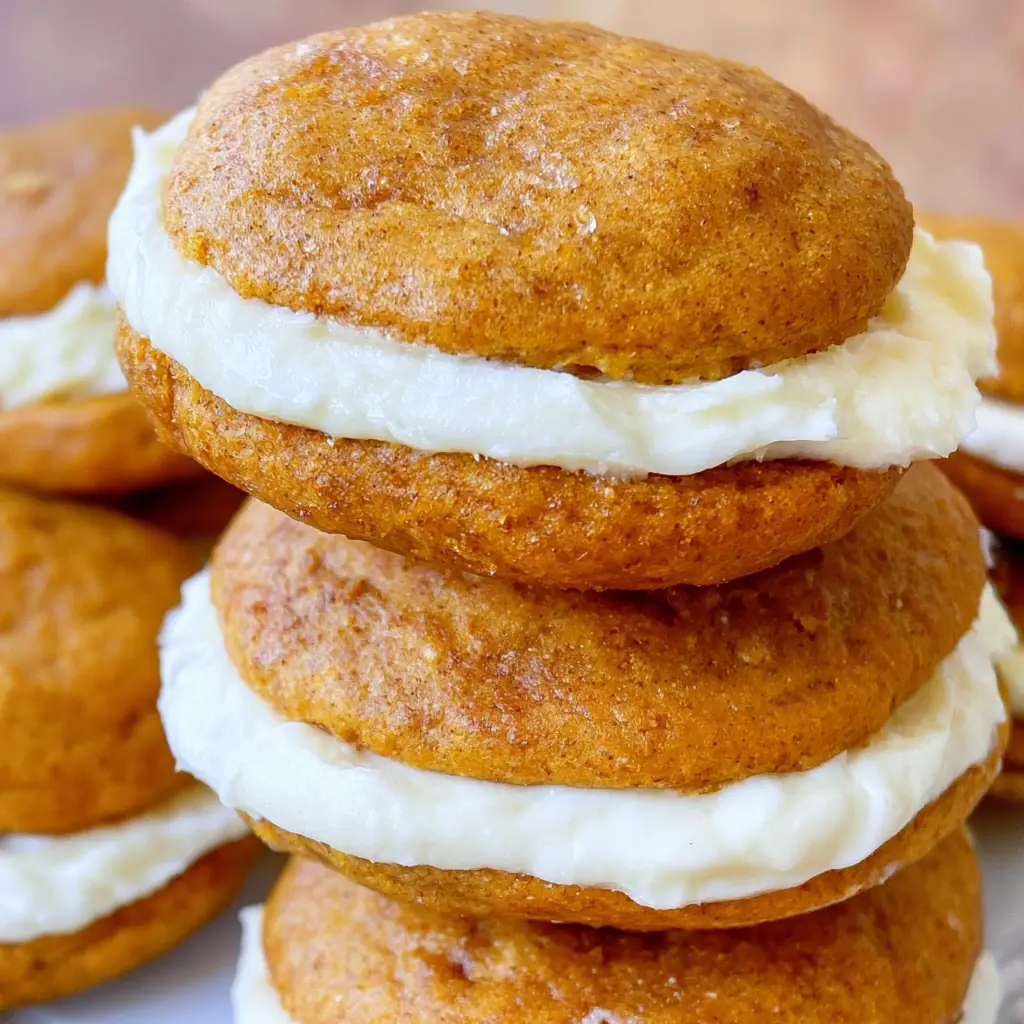
Pumpkin Whoopie Pies bring soft pumpkin cakes, warm autumn spices, and tangy maple filling into one irresistible handheld dessert. Each sandwich has tender edges, a moist center, and enough spice to balance the sweet frosting. This recipe makes 24 generous pies, so it works beautifully for Halloween parties, Thanksgiving dessert tables, bake sales, and weekend baking. Although the total time includes chilling, the hands-on work stays simple. Mix the batter, scoop even rounds, bake, cool, fill, and refrigerate. The result looks festive, travels well, and gives every pumpkin lover a rich seasonal treat without the work of rolling dough or decorating a layer cake.
Story
Pumpkin Whoopie Pies fit naturally into cool-weather baking. Traditional whoopie pies pair two soft cakes with creamy filling, while this seasonal version adds pumpkin puree, brown sugar, and spice. These classic New England whoopie pies gain extra autumn character from maple syrup and tangy cream cheese. I like serving Pumpkin Whoopie Pies at gatherings because guests need no plates, forks, or slicing. They also offer a welcome alternative when the dessert table already holds several pies. Better still, they stay soft after chilling, so you can make them ahead. The batter needs only a whisk, and a mixer quickly prepares the filling. For bakers collecting fall dessert recipes, this dependable treat feeds a crowd, freezes well, and delivers pumpkin, maple, and spice in every bite. The scent alone makes the recipe memorable: cinnamon, ginger, nutmeg, and cloves rise from the oven while the pumpkin cakes puff into rounded domes. Unlike crisp sandwich cookies, whoopie pies should feel tender and cake-like, so the oil and pumpkin play important roles. The maple filling adds contrast without hiding the spice. Because every batch yields many individual desserts, I often sort the cooled cakes by diameter before filling them. That small step creates balanced sandwiches and makes the platter look polished. Children can add sprinkles, while adults handle the piping bag. You can even divide the work across two days by baking the cakes first and assembling them later. Whether you serve them after dinner or pack them for an autumn picnic, these pumpkin treats hold their shape, taste rich without feeling heavy, and bring a cheerful bakery-style finish to the table with very little decorating effort required.
Ingredients
- 3 cups all-purpose flour
- 1 teaspoon salt
- 1 teaspoon baking soda
- 1 teaspoon baking powder
- 2 1/2 tablespoons pumpkin pie spice
- 1 cup granulated sugar
- 1 cup packed dark brown sugar
- 1 cup vegetable oil
- 3 cups chilled canned pumpkin puree, not pumpkin pie filling
- 2 large eggs
- 1 teaspoon vanilla extract
- 3 cups confectioners’ sugar
- 1/2 cup unsalted butter, softened
- 8 ounces cream cheese, softened
- 3 tablespoons pure maple syrup
- 1 teaspoon vanilla extract
- Sprinkles or jimmies, optional
Step-by-Step Instructions
Follow the sequence carefully so the cakes bake evenly and the filling holds its shape. Prepare the pans first, cool the cakes completely, and portion the batter consistently. A 1 1/2- to 2-tablespoon cookie scoop creates matching rounds.
Preparing the Ingredients
Move the oven racks to the middle positions and heat the oven to 350°F. Line two baking sheets with parchment or silicone mats. In one large bowl, whisk the flour, salt, baking soda, baking powder, and pumpkin pie spice. In another bowl, whisk both sugars with the oil. Add the chilled pumpkin puree, eggs, and vanilla, whisking until smooth. Add the dry mixture in several portions and stir just until no flour streaks remain. Do not overmix, or the cakes may turn firm. Fit a piping bag with a round tip for the filling, and set out cooling racks.
Cooking Instructions
Scoop the batter onto the prepared sheets, leaving 1 inch between portions. Bake one sheet at a time for 10 to 12 minutes, until a toothpick comes out clean or with moist crumbs. Cool the cakes on the pan for 10 minutes, then transfer them to racks. For the maple cream cheese frosting, beat the butter until smooth. Add the cream cheese and mix only until combined. Gradually beat in the confectioners’ sugar, maple syrup, and vanilla. Chill the filling for 30 minutes if it feels loose. Turn half the cooled cakes flat side up, pipe filling onto them, and top with the remaining cakes. Press lightly, add optional sprinkles around the edges, and refrigerate for at least 1 hour.
Tips for Perfect Results
Great Pumpkin Whoopie Pies depend on cool ingredients, equal portions, and patient cooling. Chilled puree helps the batter hold its shape, while softened butter and cream cheese create smooth filling. Measure flour carefully, bake one tray at a time, and chill the assembled sandwiches before serving.
Common Mistakes to Avoid
Do not use pumpkin pie filling because its added sugar and spices change the recipe. Do not pack flour into the cup, since excess flour produces dry cakes. Leave enough space between scoops, and never fill warm cakes. Even slight warmth can melt the cream cheese mixture. Overbeating the frosting can also make it loose, so stop once it looks smooth. Do not skip the one-hour chill after assembly, because that rest helps each sandwich hold together. Finally, match cakes by size before piping for neat edges and even filling.
Pro Tips for Better Flavor
Dark brown sugar brings a deeper molasses note that supports the pumpkin and spices. Pure maple syrup gives the pumpkin whoopie pies with maple cream cheese filling a fuller flavor. Add a pinch of salt to the frosting for contrast. You may also roll the exposed filling in chopped toasted pecans instead of sprinkles. For new pumpkin dessert ideas, try a little orange zest, mini chocolate chips, or a thin caramel drizzle. Keep additions restrained so pumpkin and maple remain clear. For tidy piping, hold the bag straight over each cake and work from the center outward.
Serving and Storage
Serve these pies chilled or let them stand briefly for softer filling. Because the center contains cream cheese, refrigerate leftovers. Layer them with parchment in a covered container so the tops remain smooth. Their individual size suits parties, lunchboxes, dessert platters, and edible gifts.
How to Serve
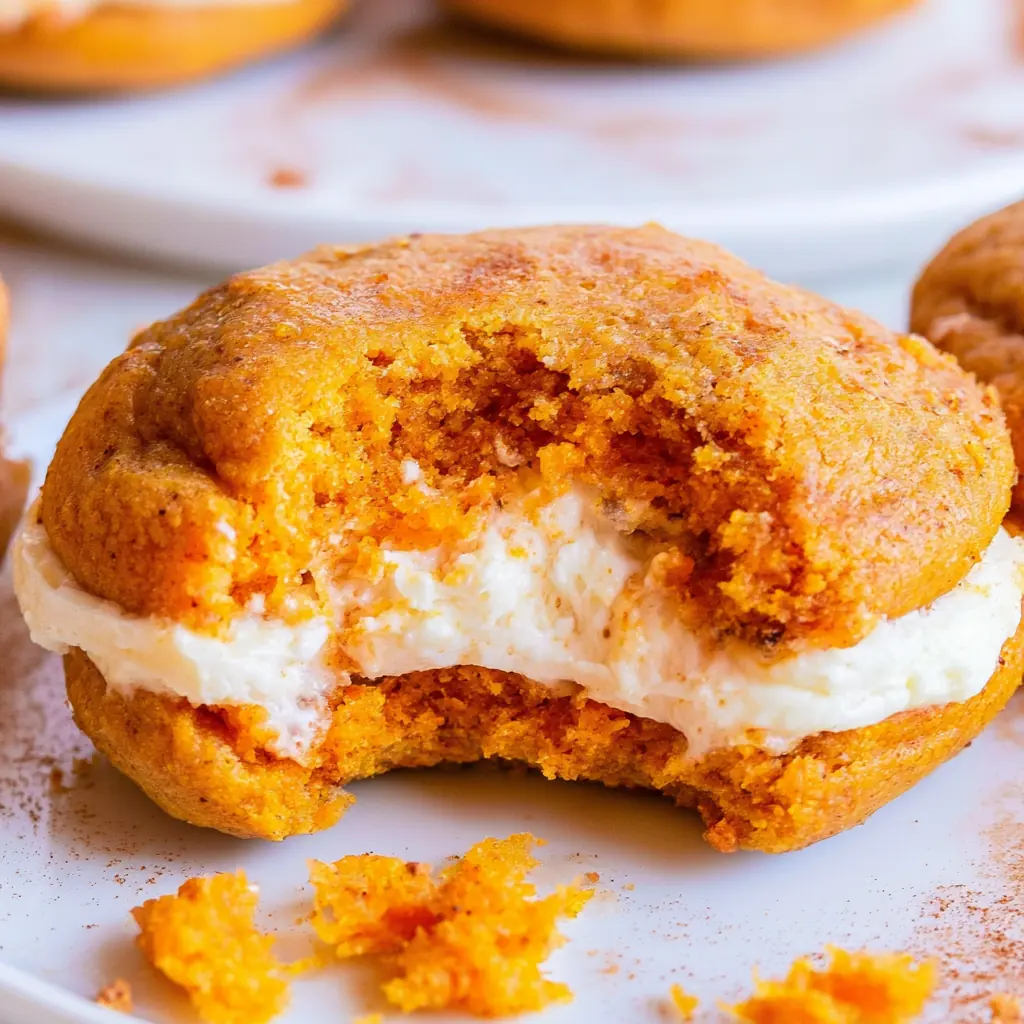
Remove Pumpkin Whoopie Pies from the refrigerator 10 to 15 minutes before serving for the cleanest bite. Arrange them with apple slices or toasted pecans for an autumn platter. Coffee, cider, tea, and milk balance their sweetness. At Thanksgiving, set them beside traditional pies as a handheld option. For smaller servings, use a one-tablespoon scoop and watch the shorter baking time closely. You can also wrap each chilled pie in parchment for bake sales or party favors. Keep the tray cool because the cream cheese center softens in a warm room.
How to Store Leftovers
Refrigerate leftover pies in an airtight container for 3 to 4 days, separating stacked layers with parchment. For longer storage, wrap each pie tightly, place the wrapped pies in a freezer container, and freeze for up to 2 months. Thaw overnight in the refrigerator or at room temperature while still wrapped for about 1 hour. You may also freeze the unfilled cakes and pipe fresh filling after thawing. This method saves time while keeping the frosting fresh. Do not microwave the pies because heat can melt the center and toughen the cakes.
Conclusion
Pumpkin Whoopie Pies turn favorite fall flavors into soft, portable sandwich cakes. Pumpkin keeps the cakes moist, spices add warmth, and maple cream cheese brings a tangy finish. Since the recipe makes 24 pies and welcomes advance preparation, it suits holidays, school events, and relaxed weekends. Measure carefully, cool every cake fully, and chill the assembled pies. Then share this dependable autumn dessert and enjoy pumpkin, maple, and cream cheese in every bite.
Discover more delicious recipes by following me on Facebook and Pinterest.
Frequently Asked Questions
These answers cover common questions about texture, advance preparation, and homemade puree. Keep the recipe’s ratios steady, use pure pumpkin, and cool the cakes completely for dependable results.
Can I Make Pumpkin Whoopie Pies Ahead of Time?
Yes. Bake and cool the cakes, then keep them airtight for one day before filling. You can also freeze unfilled cakes for up to 2 months. Thaw them, prepare the filling, assemble the pies, and chill for at least 1 hour. Fully assembled pies keep in the refrigerator for 3 to 4 days.
Why Did My Whoopie Pies Spread Too Much?
Chilled puree, accurate flour measurement, and consistent scoops help control spreading. Place batter on cool baking sheets, since a hot pan makes it spread before setting. Also check the dates on your baking soda and baking powder because old leaveners can produce flat, dense rounds.
Can I Use Homemade Pumpkin Puree?
Yes, but homemade puree often holds more water than canned pumpkin. Drain it in a cheesecloth-lined sieve until thick, then chill it before measuring 3 cups. Thin puree can loosen the batter and create damp, wide cakes. Canned puree gives more predictable results, but well-drained homemade puree works. Never use sweetened pumpkin pie filling.
Pumpkin Whoopie Pies
- Total Time: 2 hours 32 minutes
- Yield: 24 servings 1x
- Diet: Vegetarian
Description
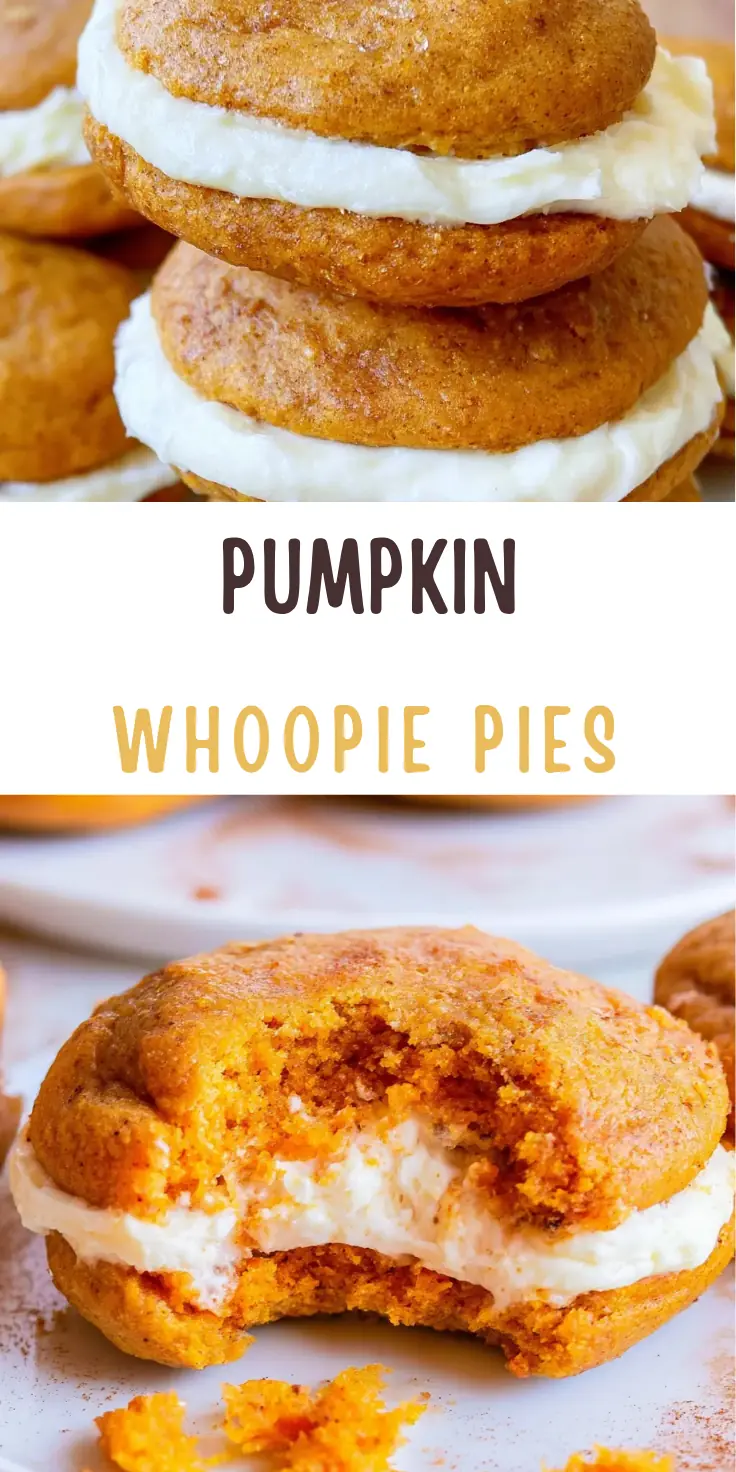
Soft, cake-like pumpkin whoopie pies filled with smooth maple cream cheese frosting. This fall dessert combines pumpkin puree, warm spices, brown sugar, and maple syrup in a handheld treat.
Ingredients
- 3 cups all-purpose flour
- 1 teaspoon salt
- 1 teaspoon baking soda
- 1 teaspoon baking powder
- 2 1/2 tablespoons pumpkin pie spice
- 1 cup granulated sugar
- 1 cup dark brown sugar, firmly packed
- 1 cup vegetable oil
- 3 cups canned pumpkin puree, chilled
- 2 large eggs
- 1 teaspoon vanilla extract
- 3 cups confectioners’ sugar
- 1/2 cup unsalted butter, at room temperature
- 8 ounces cream cheese, at room temperature
- 3 tablespoons maple syrup
- 1 teaspoon vanilla extract
- Sprinkles or jimmies for garnish, optional
Instructions
- Move the oven racks to the middle positions and preheat the oven to 350°F. Line two baking sheets with parchment paper or silicone baking mats.
- In a large bowl, whisk together the flour, salt, baking soda, baking powder, and pumpkin pie spice.
- In a separate large bowl, whisk the granulated sugar, dark brown sugar, and vegetable oil together.
- Add the pumpkin puree and whisk until thoroughly combined.
- Whisk in the eggs and vanilla extract.
- Add the flour mixture to the pumpkin mixture and whisk until fully combined with no flour streaks remaining.
- Use a 1 1/2- to 2-tablespoon cookie scoop to portion the batter onto the prepared baking sheets, spacing each portion about 1 inch apart.
- Bake one sheet at a time for 10 to 12 minutes, or until a toothpick inserted into the center comes out clean.
- Cool the cakes on the baking sheet for about 10 minutes, then transfer them to wire racks to cool completely.
- Beat the butter at medium-high speed until smooth and free of lumps.
- Add the cream cheese and beat until combined.
- Add the confectioners’ sugar, maple syrup, and vanilla extract. Beat until smooth without overmixing.
- Refrigerate the filling for about 30 minutes if it feels too loose.
- Turn half of the cooled cakes flat side up.
- Pipe the filling onto the flat sides of the cakes.
- Place the remaining cakes flat side down over the filling and press lightly until the filling reaches the edges.
- Add optional sprinkles around the exposed filling.
- Refrigerate the assembled whoopie pies for at least 1 hour before serving.
Notes
Use canned pumpkin puree, not sweetened pumpkin pie filling.
Store the whoopie pies in an airtight container in the refrigerator.
Separate stacked layers with parchment paper if needed.
Refrigerated whoopie pies are best within 3 to 4 days.
Wrap each pie individually and freeze in an airtight container for up to 2 months.
Unfilled pumpkin cakes may also be frozen and filled later.
Thaw frozen pies overnight in the refrigerator or at room temperature while still wrapped for about 1 hour.
For make-ahead preparation, bake and freeze the cakes, then fill them shortly before serving.
- Prep Time: 20 minutes
- Cook Time: 12 minutes
- Category: Dessert
- Method: Baking
- Cuisine: American