
Bread In A Bag turns homemade bread into a fun, hands-on kitchen project for kids. Instead of using a mixer or a big bowl, children mix the dough right inside a resealable bag, then knead it gently before baking. This simple method keeps the process approachable, so it works well for family afternoons, classroom cooking, preschool lessons, and beginner bakers. With basic pantry ingredients, warm water, yeast, flour, sugar, salt, and oil, you get a soft, golden loaf that tastes fresh, cozy, and rewarding.
Story
Bread In A Bag became one of my favorite kid-friendly recipes because it gives children a real baking job without making the process feel too serious. The bag lets little hands squish, press, and watch the dough change from dry flour to bubbly yeast mixture, then to a soft ball ready for the oven. Bread In A Bag also works beautifully when you want a practical Kids Baking activity that teaches patience, measuring, texture, and smell. Because the dough rests in stages, kids can see yeast come alive and learn why bread rises. Plus, Bread In A Bag tastes like a real homemade loaf, not just a craft project. Serve it warm with butter, jam, honey, or soup, and this Bread In A Bag recipe becomes both a lesson and a snack.
Ingredients
- 3 cups all-purpose flour, divided
- 3 tablespoons granulated sugar
- 1 packet rapid-rise yeast, 0.25 ounce
- 1 cup warm water, about 105°F to 110°F
- 3 tablespoons olive oil
- 1 1/2 teaspoons fine salt
- 1 teaspoon melted butter, optional for brushing after baking
Step-by-Step Instructions
Preparing the Ingredients
Start by setting out a gallon-size resealable plastic bag, a loaf pan, measuring cups, measuring spoons, and a clean work surface. Add 1 cup flour, sugar, and yeast to the bag, then pour in the warm water. Seal the bag tightly while pressing out extra air, and let your child gently squish the mixture until the flour hydrates. Next, let the bag rest on the counter for 10 minutes. During this rest, the yeast mixture should look foamy and bubbly, which helps kids see the science behind this Easy Bread Recipe before the dough comes together.
Cooking Instructions
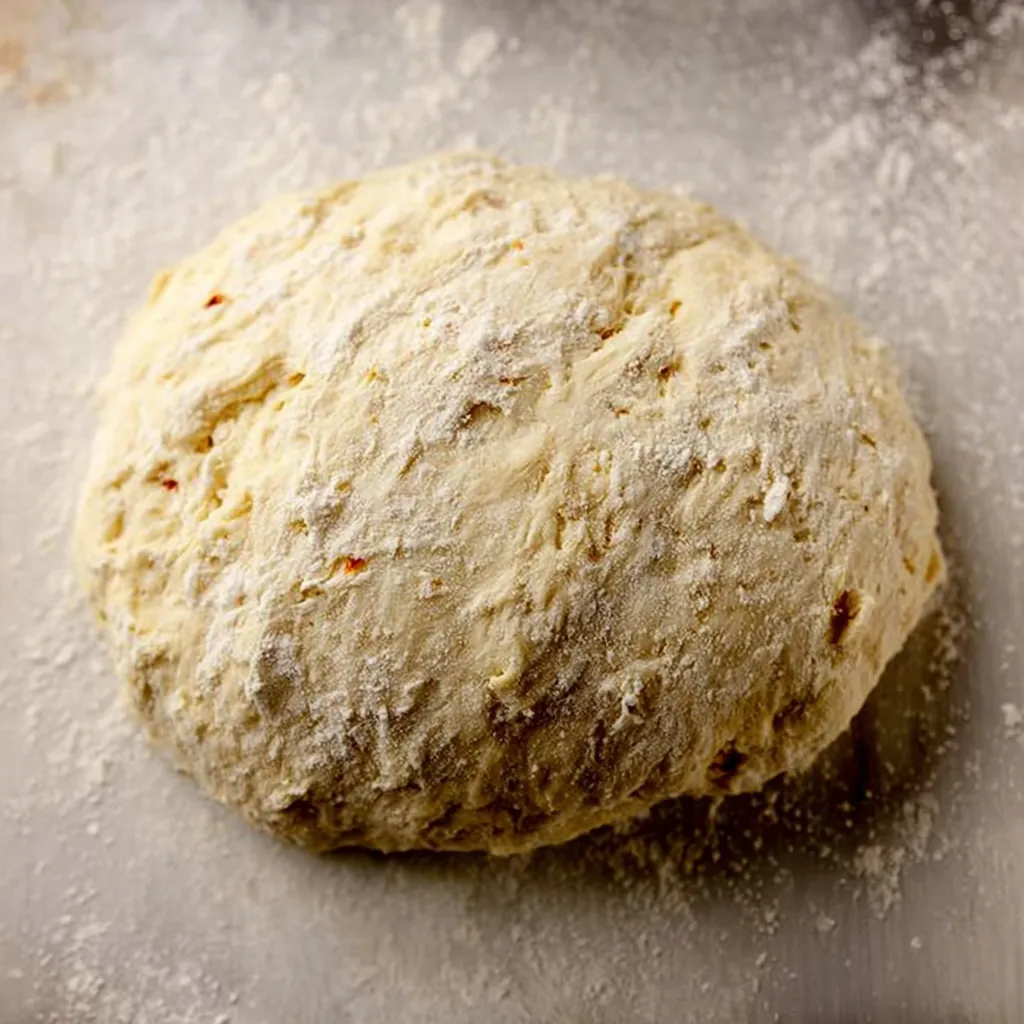
Open the bag and add 1 more cup of flour, olive oil, and salt. Seal the bag again, then let kids press and squish until the mixture turns thicker. Add the final 1 cup flour, seal the bag, and keep mixing until a soft dough forms. Sprinkle a little flour on the counter, remove the dough from the bag, and knead it for 5 minutes. Shape the dough into a loaf, place it in a greased loaf pan, cover it, and let it rise for 30 minutes. Bake at 375°F for 25 to 30 minutes, or until golden brown. Brush with melted butter, then cool slightly before slicing.
Tips for Perfect Results
Common Mistakes to Avoid
Do not use hot water, because it can harm the yeast and stop the bread from rising. Also, do not skip the first 10-minute rest, since that step helps the yeast wake up and gives the dough a better texture. If kids squeeze the bag too hard, guide them to press slowly so the seal stays closed. Additionally, avoid adding too much extra flour during kneading. A slightly tacky dough bakes softer than a dry dough. Finally, give the loaf enough time to cool before slicing, because hot bread can tear and look gummy inside.
Pro Tips for Better Flavor
For deeper flavor, brush the warm loaf with melted butter right after baking and sprinkle a tiny pinch of flaky salt on top. You can also swap 1 tablespoon of sugar for honey, although the dough may feel slightly stickier. For a soft sandwich-style texture, knead until the dough feels smooth and stretchy. If you want this Preschool Baking activity to feel extra special, let each child shape a small piece of dough into a mini roll and bake it beside the loaf. Older kids can help check the bread by tapping the top; it should sound hollow when fully baked.
Serving and Storage
How to Serve
Serve Bread In A Bag warm with softened butter, strawberry jam, cinnamon honey butter, peanut butter, or cream cheese. It also works as a simple side for soup, scrambled eggs, pasta, or a lunchbox sandwich. For a classroom or homeschool activity, slice the loaf into small pieces so every child can taste the final result. Since this recipe links food, science, and sensory play, it pairs naturally with a yeast lesson or a Little Bins Bread style kitchen project. However you serve it, fresh bread makes the whole room smell cozy and inviting.
How to Store Leftovers
Store cooled leftover bread in an airtight bag or container at room temperature for up to 2 days. For longer storage, slice the loaf, place parchment between slices, and freeze it in a freezer-safe bag for up to 2 months. To reheat, warm slices in a toaster or oven until soft and lightly crisp at the edges. You can also refresh a whole partial loaf by wrapping it in foil and warming it at 300°F for about 10 minutes. Avoid refrigerating the bread, because the cold air can make it dry faster.
Conclusion
Bread In A Bag gives kids a fun way to bake real homemade bread with simple ingredients and clear steps. It turns measuring, mixing, rising, kneading, and baking into one memorable kitchen activity. Since the dough starts inside a bag, children can join in without needing advanced baking skills. Try it for a weekend project, preschool lesson, family snack, or beginner bread day, and enjoy warm slices straight from your own oven.
Discover more delicious recipes by following me on Facebook and Pinterest.
Frequently Asked Questions
Can kids really make Bread In A Bag by themselves?
Younger children need adult help with measuring, sealing the bag, kneading, placing the pan in the oven, and slicing the bread. However, kids can safely help with pouring, squishing, watching the yeast bubble, and shaping the dough. Older children may handle more steps with supervision, especially once they understand warm water temperature and oven safety.
What kind of bag works best for Bread In A Bag?
A sturdy gallon-size resealable plastic bag works best because it gives the dough enough room to mix and rise slightly. Press out extra air before sealing, and check the zipper before kids start squishing. If the bag seems thin, place it inside a second bag to reduce leaks during mixing.
Can I make this recipe without rapid-rise yeast?
Yes, you can use active dry yeast, but the dough may need a little more rising time. Keep the water warm, not hot, and let the first mixture rest until it looks foamy. After shaping, let the loaf rise until it looks puffy before baking, even if that takes longer than 30 minutes.
Bread In A Bag
- Total Time: 1 hour
- Yield: 1 loaf, about 10 slices 1x
- Diet: Vegetarian
Description
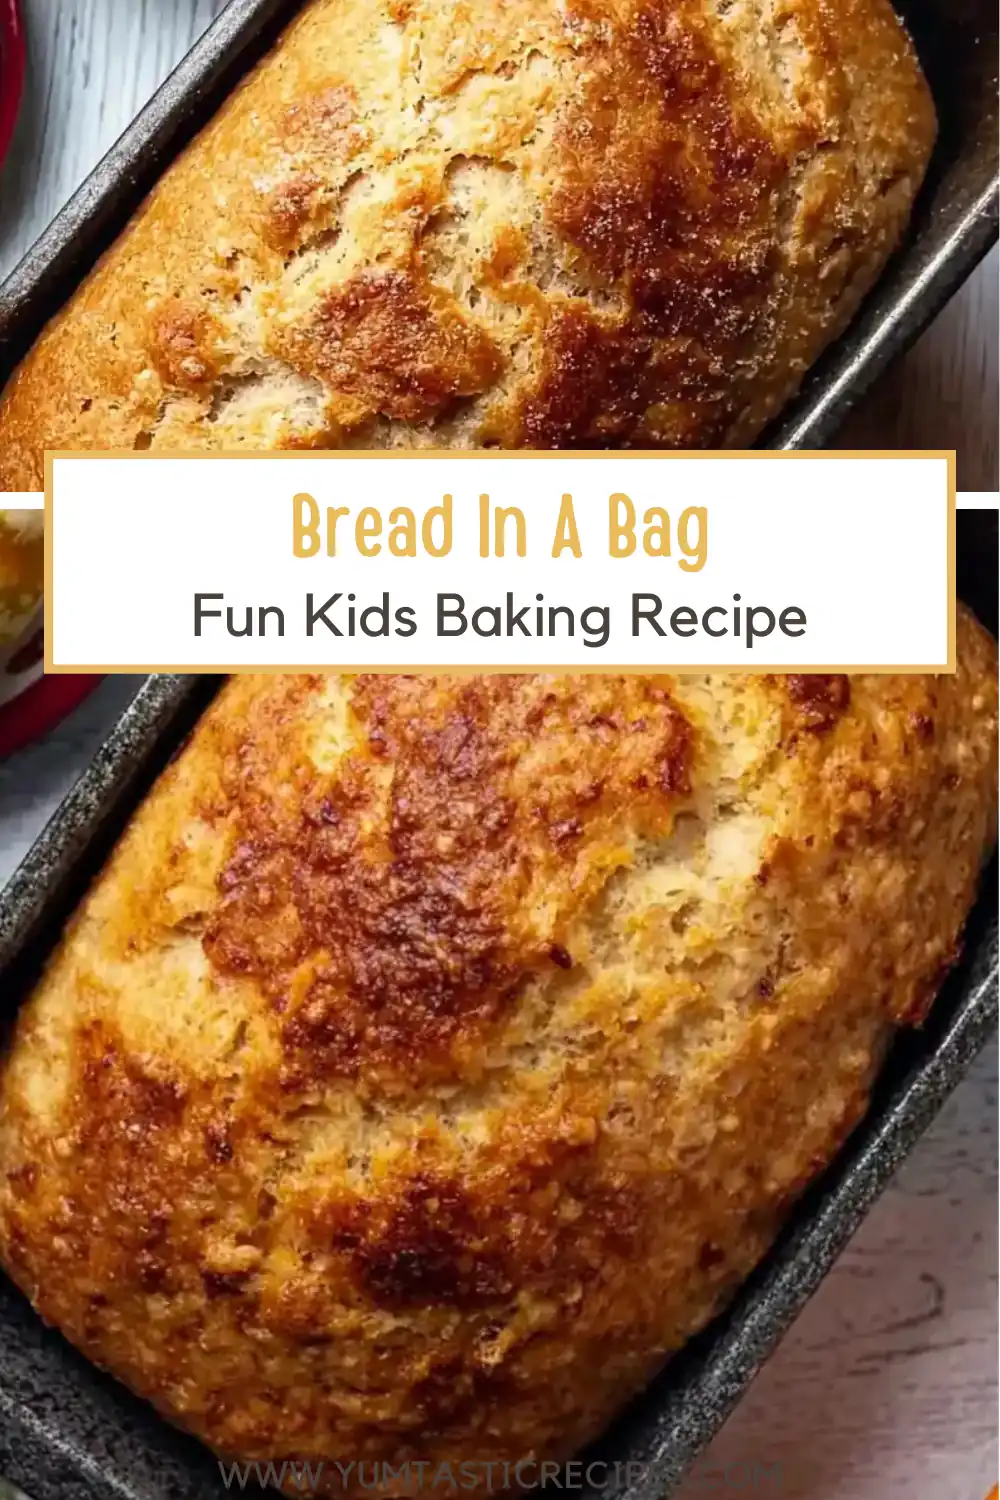
Bread In A Bag is a kid-friendly homemade bread recipe where children mix dough inside a resealable bag, knead it by hand, and bake it into a soft golden loaf.
Ingredients
- 3 cups all-purpose flour, divided
- 3 tablespoons granulated sugar
- 1 packet rapid-rise yeast, 0.25 ounce
- 1 cup warm water, about 105°F to 110°F
- 3 tablespoons olive oil
- 1 1/2 teaspoons fine salt
- 1 teaspoon melted butter, optional for brushing after baking
Instructions
- Add 1 cup flour, sugar, and yeast to a gallon-size resealable plastic bag.
- Pour in warm water, seal the bag tightly, and press out extra air.
- Squish the bag gently until the mixture looks smooth and combined.
- Let the sealed bag rest on the counter for 10 minutes, or until the mixture looks foamy.
- Open the bag and add 1 more cup flour, olive oil, and salt.
- Seal the bag again and squish until the dough thickens.
- Add the final 1 cup flour, seal the bag, and mix until a soft dough forms.
- Turn the dough onto a lightly floured surface and knead for 5 minutes.
- Shape the dough into a loaf and place it in a greased loaf pan.
- Cover the pan and let the dough rise for 30 minutes, or until puffy.
- Bake at 375°F for 25 to 30 minutes, or until the loaf turns golden brown.
- Brush with melted butter if desired, then cool slightly before slicing.
Notes
- Use warm water, not hot water, so the yeast can rise properly.
- Double-bag the dough if young children will press firmly on the bag.
- Add only a light dusting of flour while kneading to keep the bread soft.
- Let the bread cool before slicing so the crumb sets neatly.
- Store cooled leftovers in an airtight bag at room temperature for up to 2 days.
- Prep Time: 20 minutes
- Cook Time: 30 minutes
- Category: Bread
- Method: Baking
- Cuisine: American
Nutrition
- Serving Size: 1 slice
- Calories: 185
- Sugar: 4
- Sodium: 352
- Fat: 5
- Saturated Fat: 1
- Unsaturated Fat: 4
- Trans Fat: 0
- Carbohydrates: 30
- Fiber: 1
- Protein: 4
- Cholesterol: 0