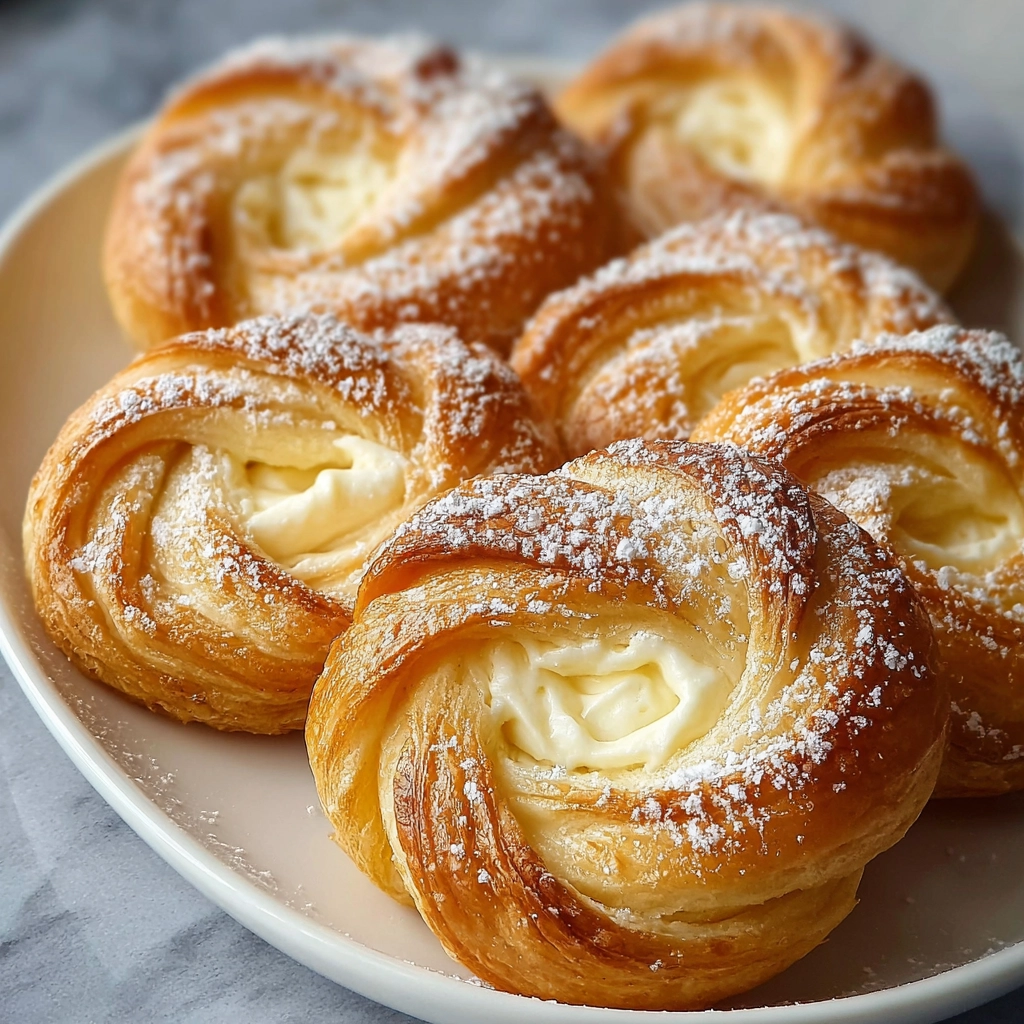
Nothing compares to the aroma of a Homemade Cheese Danish baking in your own kitchen. Flaky layers, a rich cream cheese center, and a lightly sweet finish come together in a way that feels both comforting and indulgent. This recipe brings that familiar bakery experience home, using simple ingredients and a patient dough process that rewards you with professional-style results.
Whether you plan a slow weekend breakfast or a memorable brunch spread, this Danish delivers tender pastry, balanced sweetness, and a beautiful presentation that feels special without feeling complicated.
Story
The first time I made a Homemade Cheese Danish, I wanted something that truly felt bakery-made but still approachable for a home cook. Store-bought pastries never quite captured the buttery texture or fresh flavor I remembered from early morning bakery visits. This version delivers exactly that experience, blending a chilled, butter-rich dough with a smooth cream cheese filling that melts perfectly as it bakes.
What makes this recipe stand out is the overnight rest, which gives the dough structure and flavor without constant handling. The cinnamon-scented coils rise into golden spirals, and a final maple syrup glaze adds shine and subtle sweetness. This Homemade Cheese Danish fits beautifully into a sweet brunch recipe, a cozy holiday breakfast, or a relaxed Sunday morning treat. If you enjoy a flaky pastry breakfast with coffee, this one belongs in your rotation.
Ingredients
-
2 packages (¼ ounce each) active dry yeast
-
½ cup warm water (110°F–115°F)
-
4 cups all-purpose flour
-
⅓ cup granulated sugar
-
2 teaspoons salt
-
1 cup cold butter, cubed
-
1 cup 2% milk
-
4 large egg yolks, room temperature
-
3 teaspoons ground cinnamon
-
12 ounces cream cheese, softened
-
⅓ cup sugar
-
1 large egg, separated
-
1 tablespoon water
-
2 tablespoons maple syrup
Step-by-Step Instructions
Preparing the Ingredients
Begin by dissolving the yeast in warm water and letting it stand until foamy, which usually takes about five minutes. In a large bowl, combine flour, sugar, and salt, then cut in the cold butter until the mixture looks crumbly. Add the milk, egg yolks, and yeast mixture, stirring gently until a soft, sticky dough forms. Cover the bowl and refrigerate the dough for at least eight hours or overnight.
Cooking Instructions
Once chilled, punch down the dough and divide it into four equal portions. On a lightly floured surface, shape each portion into a 9×4-inch rectangle. Sprinkle each rectangle with cinnamon, then cut lengthwise into four strips. Twist each strip and coil it loosely, tucking the end underneath to seal. Place the coils on greased baking sheets, spacing them well apart. Mix the cream cheese, sugar, and egg yolk until smooth, then press an indentation into each coil and fill it with the mixture. Let the pastries rise until doubled, brush with egg white wash, and bake at 350°F until golden. Finish by brushing with maple syrup while warm.
Tips for Perfect Results
Common Mistakes to Avoid
Avoid warming the butter too much during mixing, since cold butter creates flaky layers. Skipping the refrigeration step can lead to dense pastries, so give the dough adequate resting time. Overfilling the centers may cause leakage during baking, which affects appearance.
Pro Tips for Better Flavor
Use full-fat cream cheese for a richer filling. Brushing the pastries with maple syrup while still warm helps the glaze absorb evenly. For an authentic bakery style danish, allow the coils to rise fully before baking so they expand instead of spreading.
Serving and Storage
How to Serve
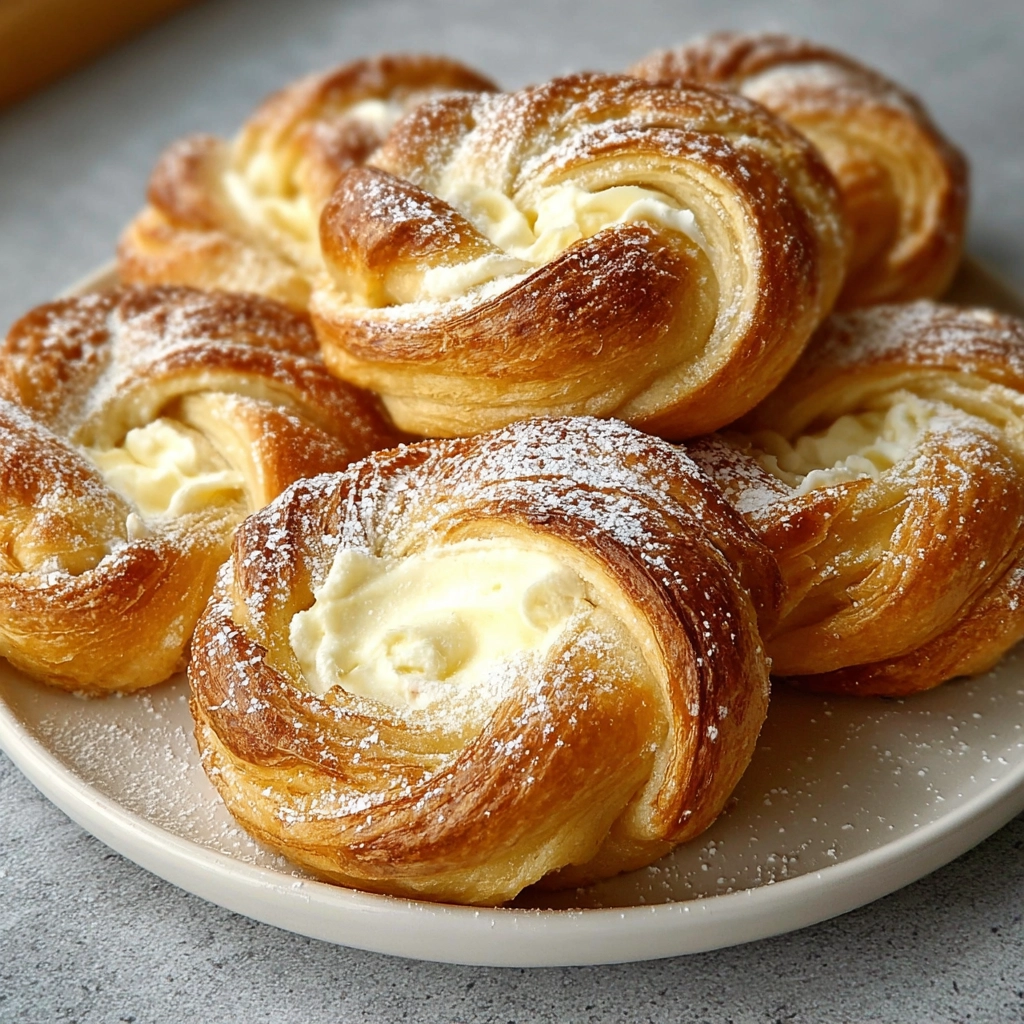
Serve these pastries warm with coffee, tea, or fresh fruit. They pair well with savory breakfast dishes and shine on a brunch table as the sweet centerpiece.
How to Store Leftovers
Store cooled pastries in an airtight container in the refrigerator for up to three days. Reheat briefly in the oven to restore the flaky texture before serving.
Conclusion
This Homemade Cheese Danish proves that bakery-quality pastries belong in your home kitchen. With a patient dough, creamy filling, and simple finishing touch, the result feels special every time. Try it once, and it may become your go-to recipe for breakfasts worth slowing down for.
Discover more delicious recipes by following me on Facebook and Pinterest.
Frequently Asked Questions
Can I prepare the dough ahead of time?
Yes, the dough benefits from overnight refrigeration and can rest up to 24 hours, which improves texture and flavor without extra effort.
Can I freeze these pastries?
You can freeze baked and cooled Danish pastries for up to one month. Reheat directly from frozen in a low oven until warmed through.
What makes this Danish flaky without lamination?
Cold butter cut into the dough and gentle handling create layers as the pastries bake, giving a tender, flaky result without complex folding.
Print
Homemade Cheese Danish
- Total Time: 1 hour 10 minutes
- Yield: 16 rolls
- Diet: Vegetarian
Description
Buttery homemade cheese Danish with a rich cream cheese center and flaky pastry texture.
Ingredients
- Active dry yeast
- Warm water
- All-purpose flour
- Granulated sugar
- Salt
- Cold butter
- Milk
- Egg yolks
- Ground cinnamon
- Cream cheese
- Egg
- Maple syrup
Instructions
- Dissolve yeast in warm water until foamy
- Mix dry ingredients and cut in butter
- Add milk egg yolks and yeast to form dough
- Refrigerate dough overnight
- Shape dough into strips twist and coil
- Prepare cream cheese filling
- Fill coils and let rise
- Bake until golden and brush with maple syrup
Notes
- Chill dough fully for best texture
- Use full fat cream cheese
- Brush syrup while warm
- Prep Time: 50 minutes
- Cook Time: 20 minutes
- Category: Breakfast
- Method: Baking
- Cuisine: European
Nutrition
- Serving Size: 1 roll
- Calories: 359
- Sugar: 14g
- Sodium: 260mg
- Fat: 21g
- Saturated Fat: 13g
- Unsaturated Fat: 7g
- Trans Fat: 0g
- Carbohydrates: 36g
- Fiber: 1g
- Protein: 7g
- Cholesterol: 95mg