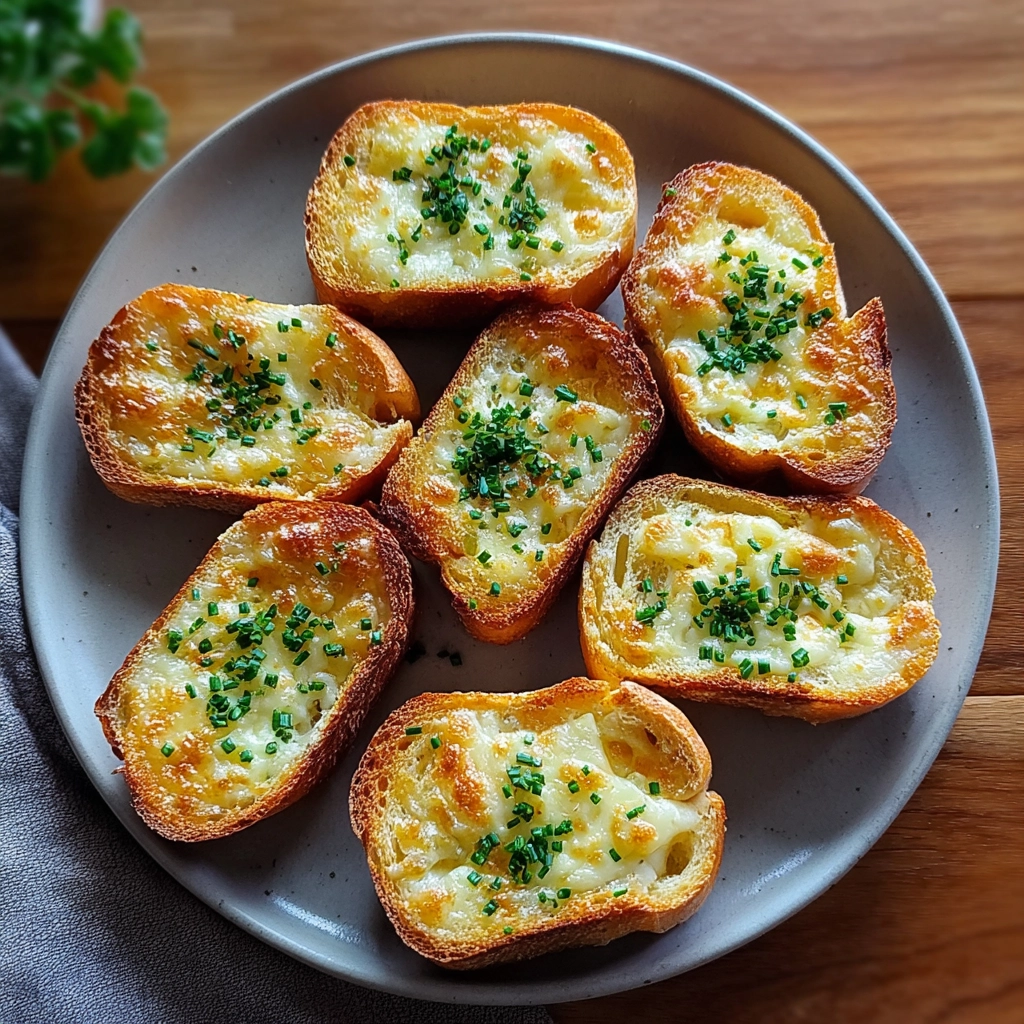
Mini Grilled Cheese Hawaiian Rolls deliver everything people crave in comfort food—melty cheese, buttery bread, and easy prep—all in one shareable bite. This Mini Grilled Cheese recipe works perfectly for parties, game days, or quick family snacks. Because these rolls bake together, they stay soft inside while turning lightly crisp on top. Even better, this dish comes together fast with simple ingredients you already know, which makes it reliable every single time.
I first made Mini Grilled Cheese Hawaiian rolls when I needed something warm, fast, and guaranteed to disappear at a family gathering. Traditional grilled cheese sandwiches take time, yet these rolls bake all at once and slice cleanly for serving. Since then, they have become my go-to option for kid friendly snacks and casual entertaining. The soft sweetness of Hawaiian rolls balances the sharp cheddar, while mozzarella adds that stretchy pull everyone loves. Over time, this recipe proved itself as one of those dependable party appetizers that works for both adults and kids without extra effort.
Ingredients
You only need a handful of simple ingredients to make these irresistible mini cheese sandwiches, and each one plays a clear role in flavor and texture.
-
12 Hawaiian rolls
-
1 cup shredded cheddar cheese
-
1 cup shredded mozzarella cheese
-
1/2 cup butter, softened
-
1 teaspoon garlic powder (optional)
-
1 teaspoon dried herbs such as oregano or basil (optional)

Mini Grilled Cheese Hawaiian Rolls
- Total Time: 35 minutes
- Yield: 12 mini sandwiches 1x
- Diet: Vegetarian
Description
Mini Grilled Cheese Hawaiian Rolls baked until buttery and golden, filled with melted cheddar and mozzarella for an easy, shareable appetizer or snack.
Ingredients
- 12 Hawaiian rolls
- 1 cup shredded cheddar cheese
- 1 cup shredded mozzarella cheese
- 1/2 cup butter, softened
- 1 teaspoon garlic powder (optional)
- 1 teaspoon dried herbs such as oregano or basil (optional)
Instructions
- Preheat the oven to 350°F.
- Slice the entire pack of Hawaiian rolls in half horizontally without separating them.
- Spread softened butter evenly on the cut sides of both halves.
- Sprinkle garlic powder and dried herbs over the butter if using.
- Evenly layer the cheddar and mozzarella over the bottom half of the rolls.
- Place the top half of the rolls back on.
- Wrap the rolls tightly in aluminum foil.
- Bake for 15 to 20 minutes until the cheese is fully melted.
- Unwrap and bake for 5 more minutes until the tops are lightly golden.
- Cool briefly, slice, and serve warm.
Notes
- Keep the rolls connected while baking for even melting.
- Use freshly shredded cheese for best texture.
- Reheat leftovers in the oven to maintain softness.
- Prep Time: 10 minutes
- Cook Time: 25 minutes
- Category: Appetizer
- Method: Baking
- Cuisine: American
Nutrition
- Serving Size: 1 mini sandwich
- Calories: 210
- Sugar: 3 g
- Sodium: 320 mg
- Fat: 14 g
- Saturated Fat: 8 g
- Unsaturated Fat: 5 g
- Trans Fat: 0 g
- Carbohydrates: 14 g
- Fiber: 1 g
- Protein: 7 g
- Cholesterol: 40 mg
Step-by-Step Instructions
This method keeps the rolls soft, cheesy, and evenly baked, which makes it ideal for pull apart grilled cheese servings.
Preparing the Ingredients
Start by preheating your oven to 350°F so it reaches the correct temperature before baking. Keep the Hawaiian rolls connected, then slice the entire pack horizontally using a serrated knife. Spread the softened butter evenly across the cut sides of both halves. If you enjoy extra flavor, sprinkle garlic powder and dried herbs directly onto the butter while it remains soft so it absorbs evenly.
Cooking Instructions
Layer the shredded cheddar and mozzarella evenly over the bottom half of the rolls, making sure the cheese reaches the edges. Place the top half back on, then wrap the entire loaf tightly in foil to hold in moisture. Bake for 15 to 20 minutes until the cheese melts fully. Unwrap the foil and return the rolls to the oven for five more minutes so the tops turn lightly golden. Let them rest briefly, then slice and serve warm.
Tips for Perfect Results
Small details make a big difference when preparing baked hawaiian roll grilled cheese for groups.
Common Mistakes to Avoid
Avoid separating the rolls before baking, since they bake more evenly when kept together. Skipping the foil too early can dry out the bread, while uneven butter spreading can cause patchy browning. Also, slicing too soon after baking may cause the cheese to spill out before it sets slightly.
Pro Tips for Better Flavor
Use freshly shredded cheese instead of pre-packaged blends for smoother melting. Mixing sharp cheddar with mozzarella gives both flavor and stretch, while a light herb sprinkle adds depth without overpowering the rolls. For richer color, brush a thin layer of butter on the tops before the final bake.
Serving and Storage
These baked sandwiches stay versatile from the oven to the next day.
How to Serve
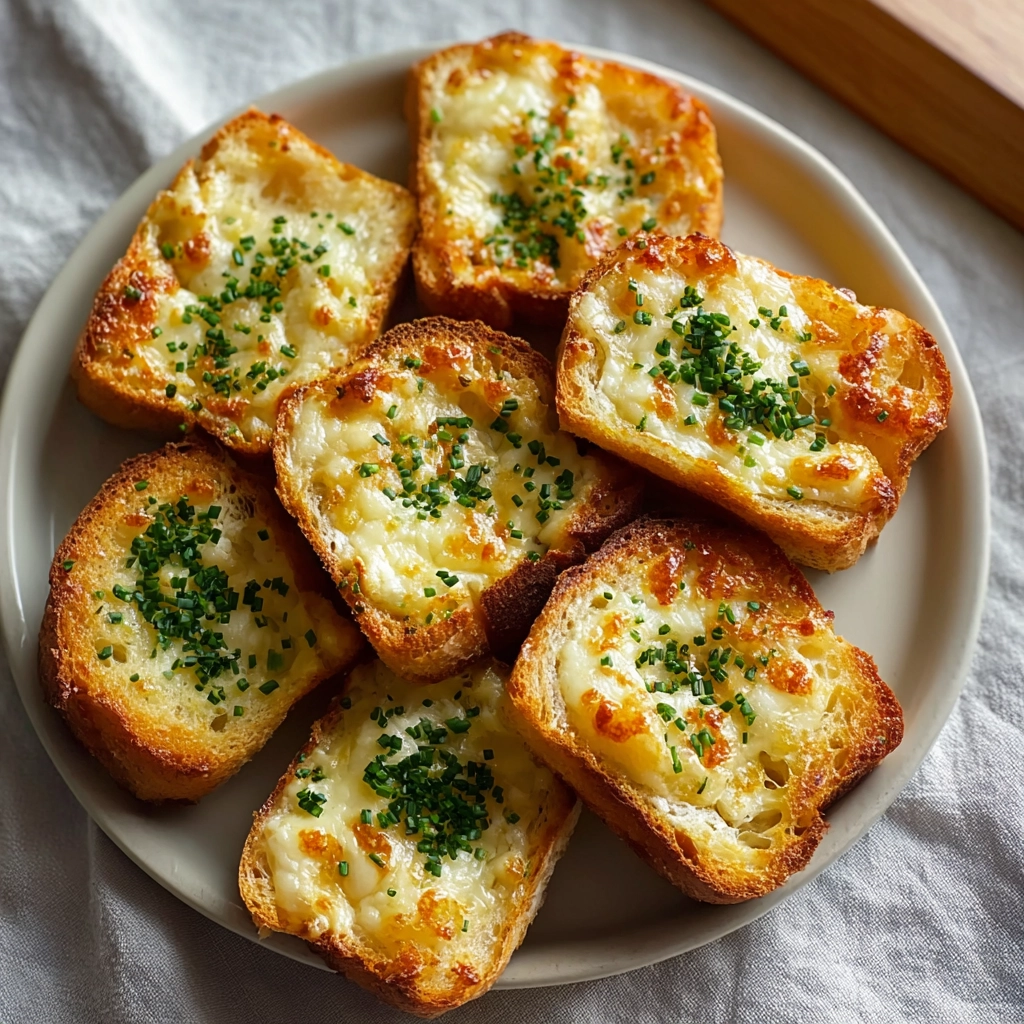
Serve these rolls warm on a large platter so guests can easily grab portions. They pair well with tomato soup, marinara for dipping, or fresh fruit for balance. Because they slice cleanly, they also work well on appetizer tables and snack boards.
How to Store Leftovers
Store leftovers in an airtight container in the refrigerator for up to three days. Reheat them in the oven at 325°F until warmed through, which helps keep the bread soft while remelting the cheese. Avoid microwaving if possible, since it can make the rolls chewy.
Frequently Asked Questions
Can I make Mini Grilled Cheese ahead of time?
Yes, you can assemble the rolls several hours ahead and keep them wrapped in the refrigerator. Bake them just before serving so the cheese melts fresh and the bread stays soft.
What cheese works best for this recipe?
Cheddar and mozzarella work best together because they balance flavor and meltability. You can also mix in Monterey Jack or Colby for a milder profile if desired.
Can I add extras to the rolls?
You can add thin slices of cooked bacon or ham between the cheese layers. Keep additions minimal so the rolls stay easy to slice and bake evenly.
Conclusion
Mini Grilled Cheese Hawaiian Rolls offer a simple, dependable way to please a crowd without stress. With minimal prep and familiar flavors, this recipe fits everything from casual dinners to celebrations. Once you try it, you will likely add it to your regular rotation for easy, satisfying comfort food that always delivers.
Discover more delicious recipes by following me on Facebook and Pinterest.